

Ikea Wardrobe Design Tool Uk
Earlier in March, just before everything started shutting down, we were able to run to IKEA and pick up everything for our Master closet. We're so grateful for that, because we have a project we can work on while staying home for the next month! But let's try and remember what this room used to be.
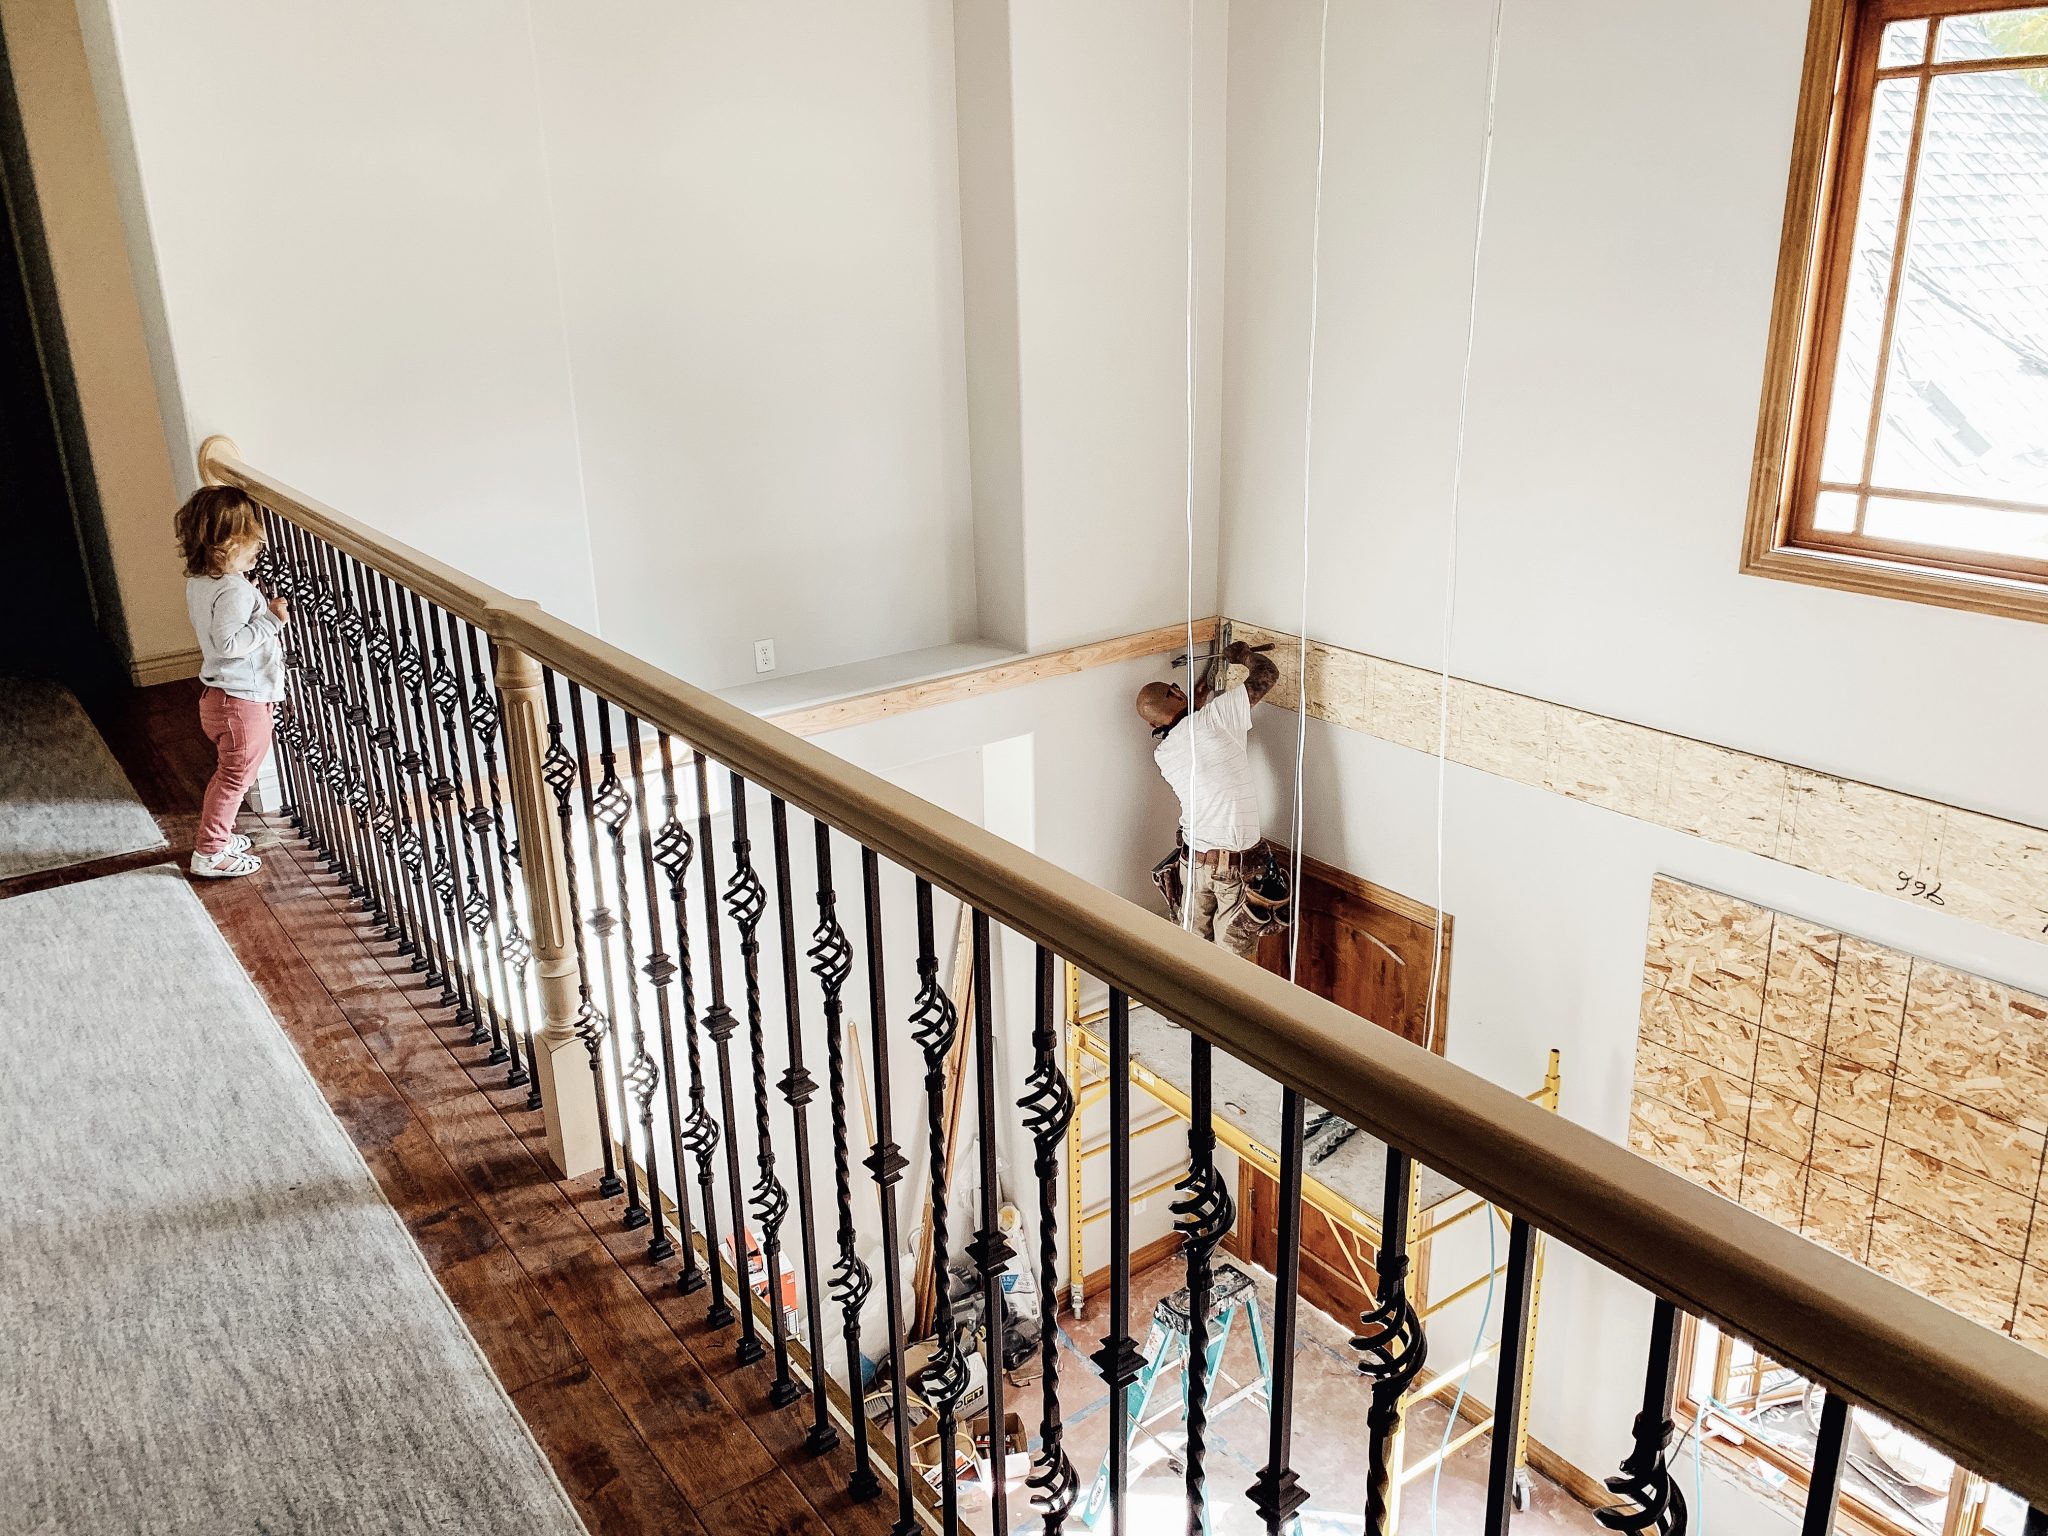
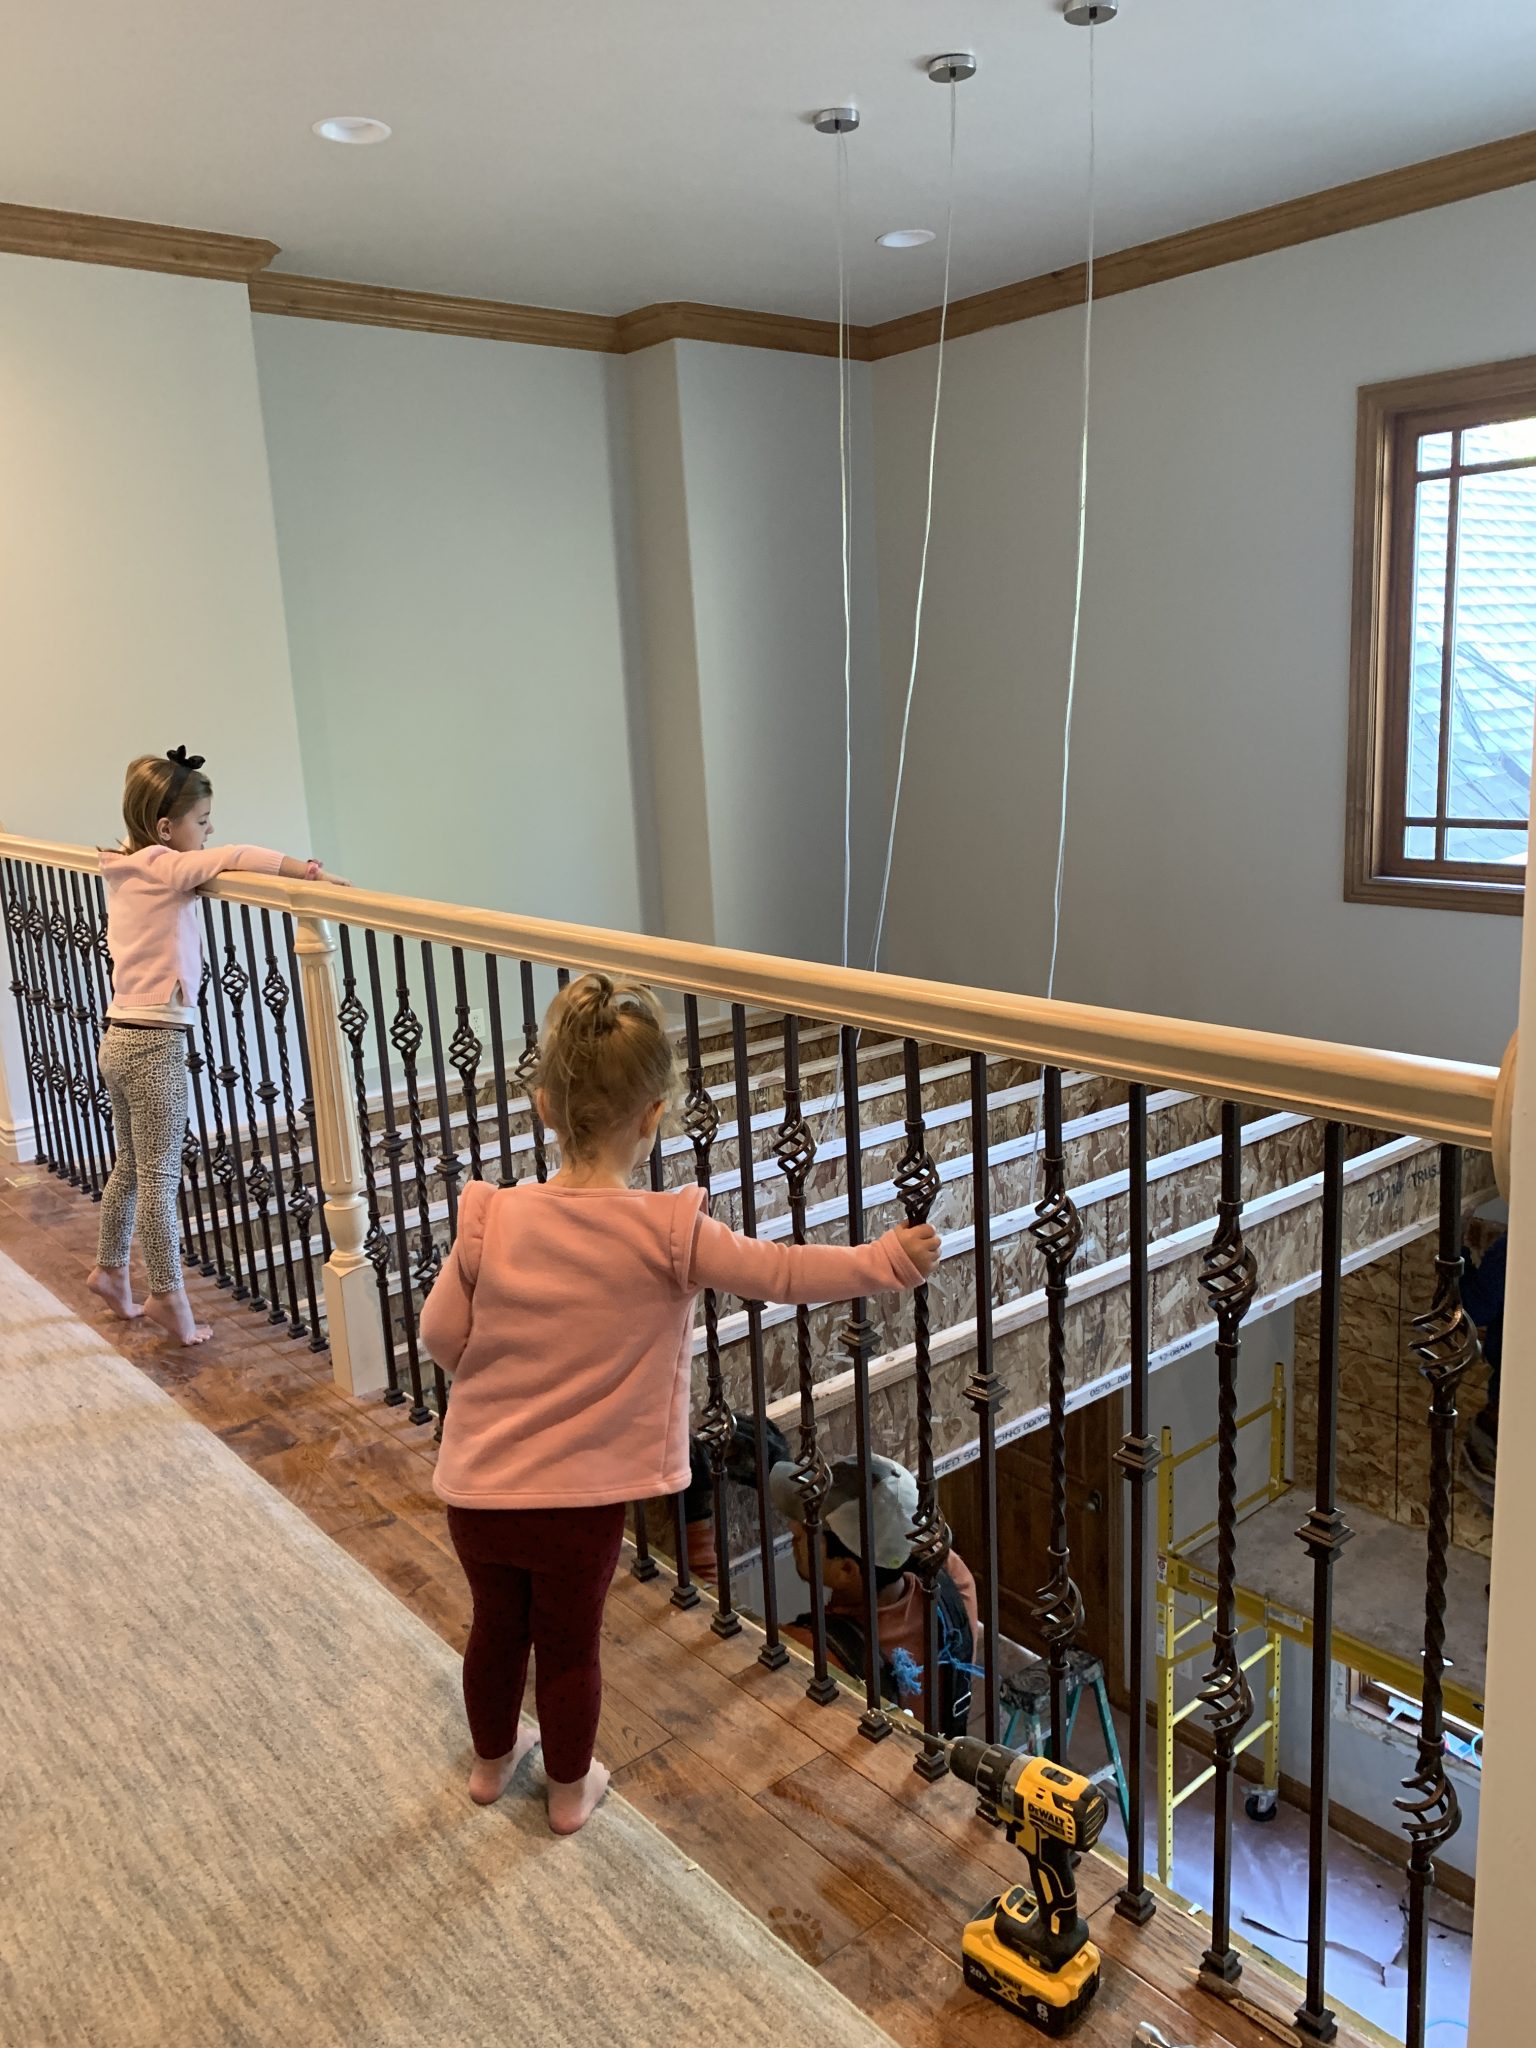
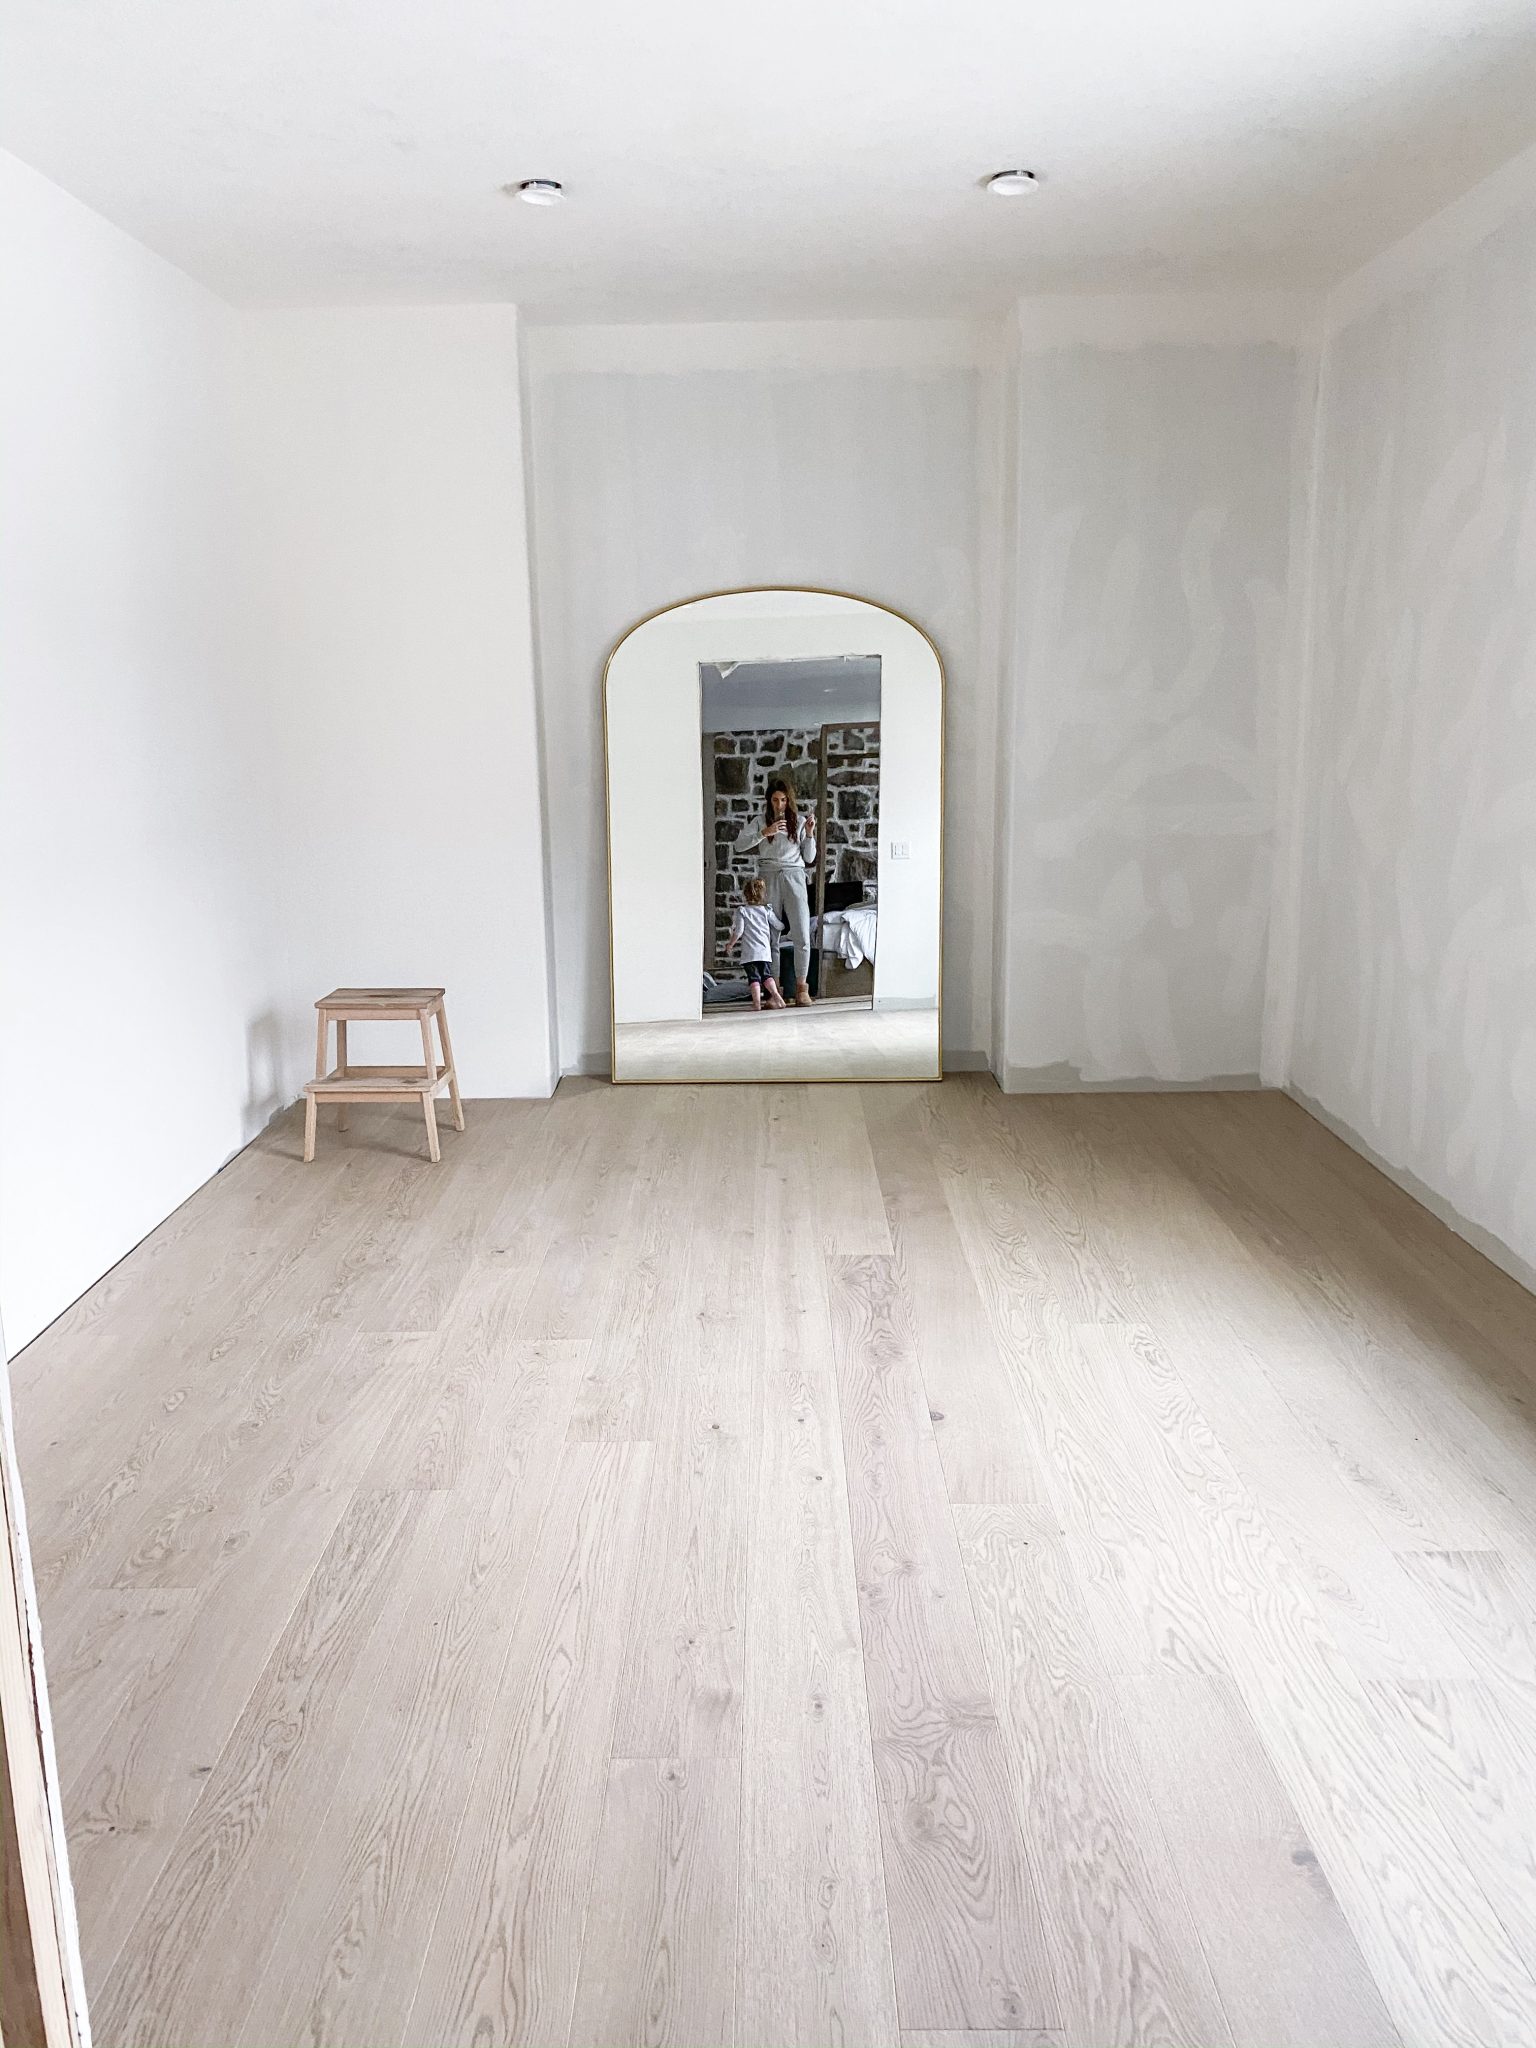
Nothing, actually. It didn't even exist! As a reminder, this was the open second story space above what the previous owners used as their dining room below. We added a floor, walled it in, and opened it up to the Master bedroom to become our new Master closet.
This is our third time using IKEA PAX wardrobes, the last time being in our previous Master closet, and anybody who has done an IKEA PAX closet knows the first hurdle to get over is planning.
There are a few things to understand before using the IKEA planning tools. First, they are in-browser applications built using Flash. Just saying that, some of you will think, "ok… does that mean something?" While the rest of you will think, "Oh, yikes." Quick background, Flash is a programming platform that used to be all the rage, but nowadays browsers hate it. It drains battery super fast and has constant security vulnerabilities (ie, opens up your computer to malware and other Internet-based attacks).
At some point (in the near future, I would hope) IKEA will need to update the planner. When that happens, a lot of the usability issues you see with the current planners they have will hopefully be no more. But as for now, here are a few best practices for using the IKEA PAX planner (or any of their other space planners):
• Choose your browser wisely. Safari is horrid with it, so avoid that one. Chrome works best as of now, but they will be dropping support for Flash soon. You can get plugins for Firefox and Internet Explorer (or Edge, now) that mostly work.
• If you click and it doesn't respond, it's most likely "thinking." Give it at least 30 seconds before clicking something else, otherwise it's going to all of a sudden catch up and your entire plan may be all screwed up (too many cabinets added, drawers in the wrong places, etc.)
• Be sure you don't have anything selected when you try to move the camera angle. If you have something selected, instead of moving the view it will move whatever is selected and that can be obnoxious to get set back in place.
In short, be patient with it. It's going to stall, it's going to go slow, it's going to put things in weird places. But take your time and you'll be great.
How to Use the IKEA PAX Wardrobe Planner
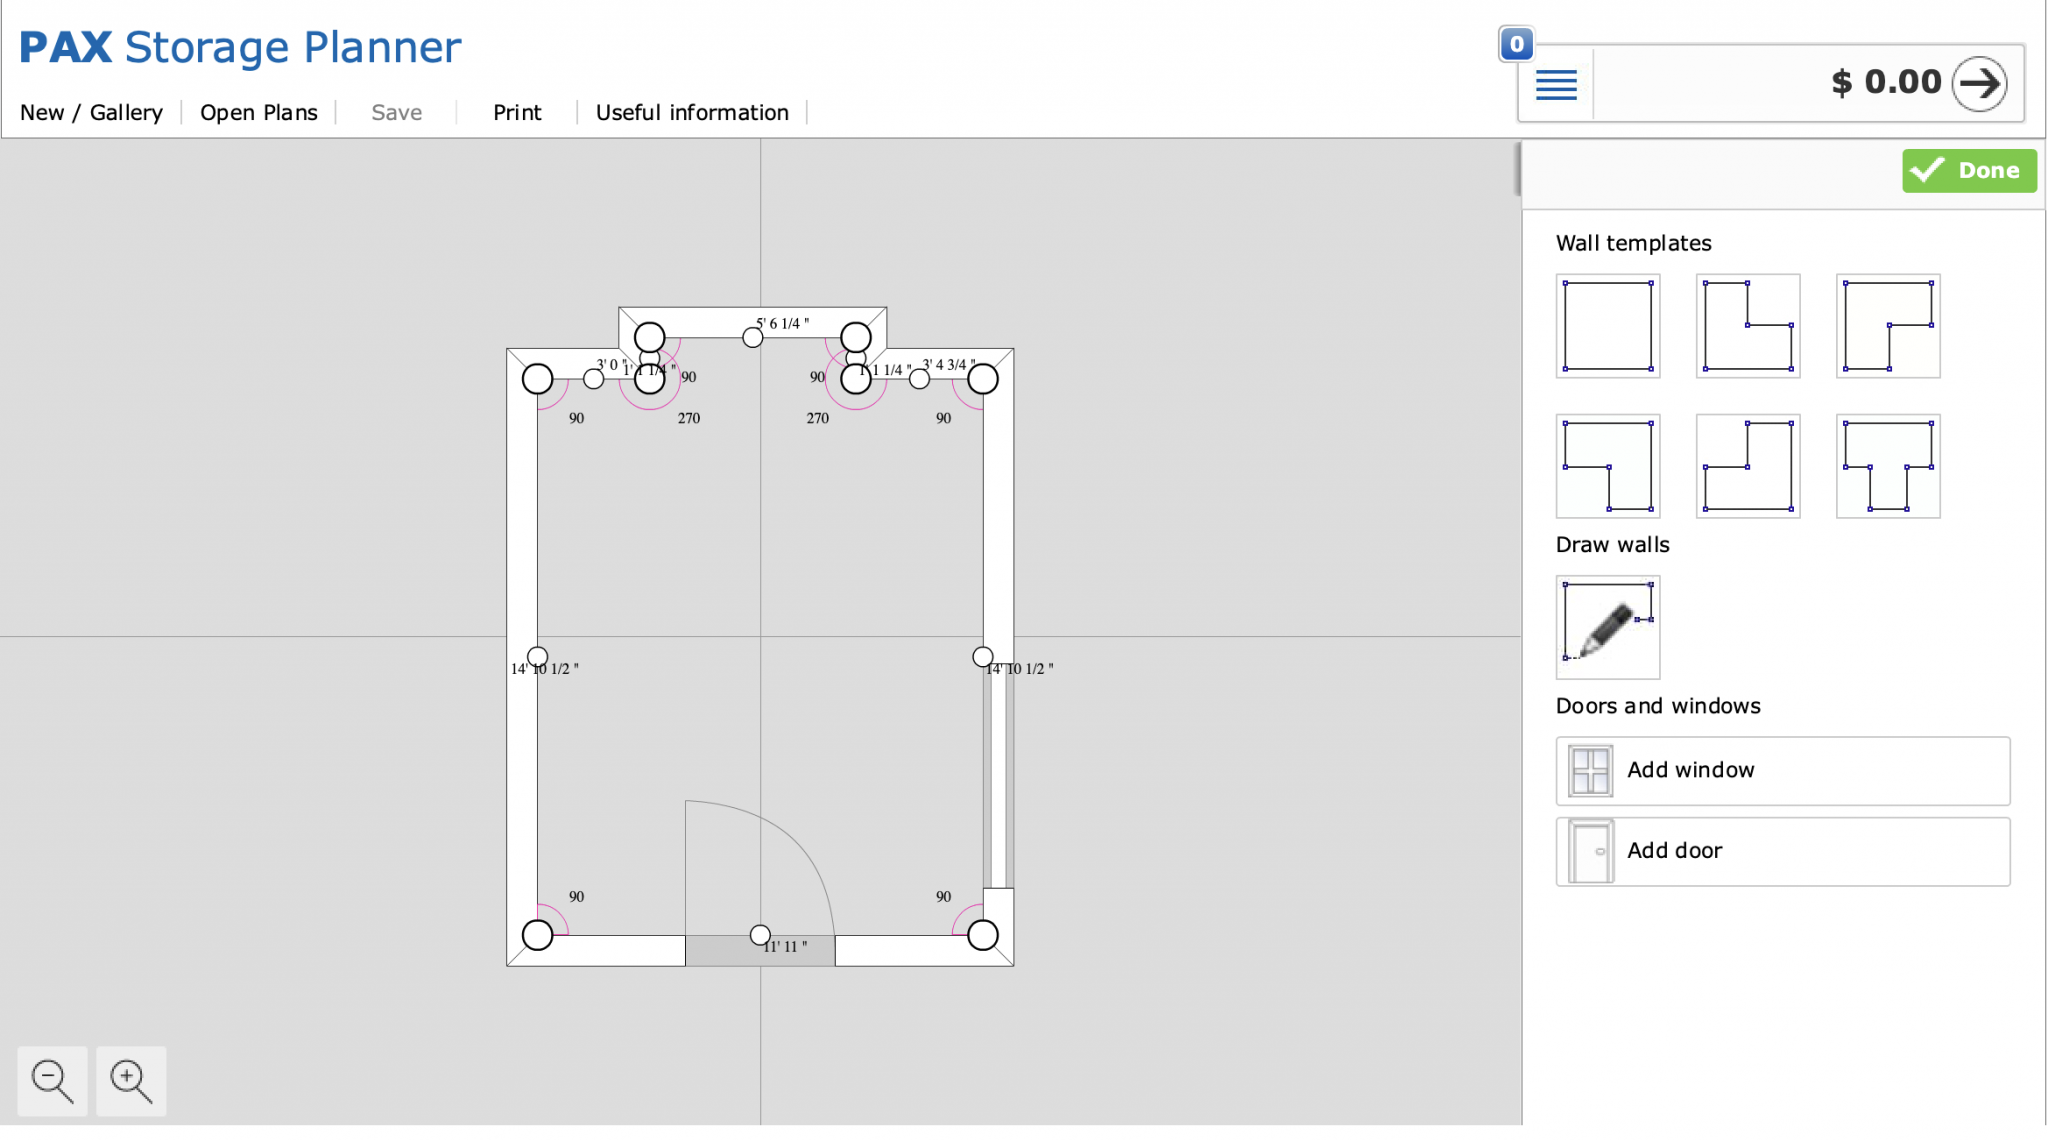
1. Layout the room
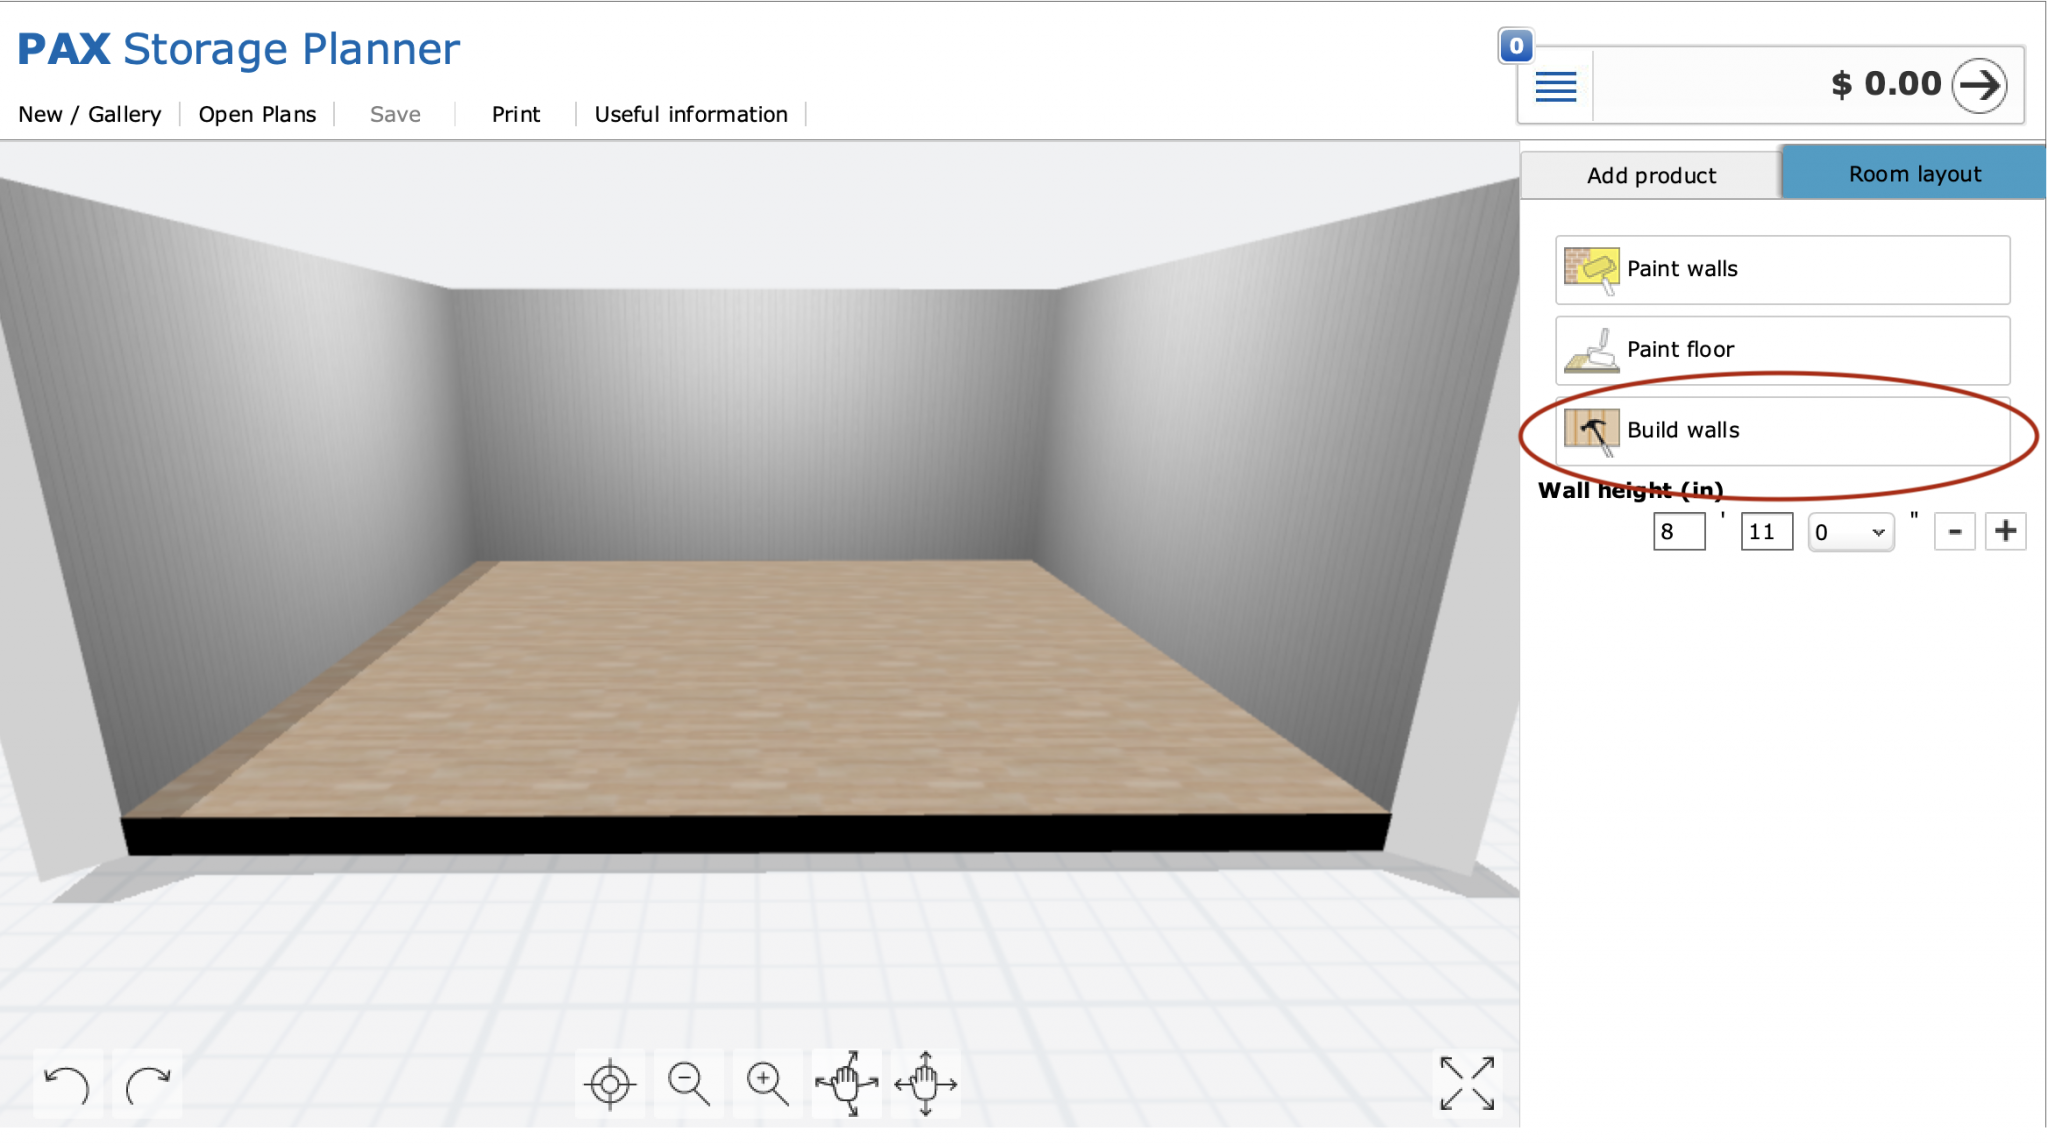
When you first open the tool, it starts you with a square, generic space. You need to first make it the size of your space, walls, doors, nooks, windows, all of it. You can change the wall color and flooring as well, but we won't worry about that here. First, click the "Build walls" option.
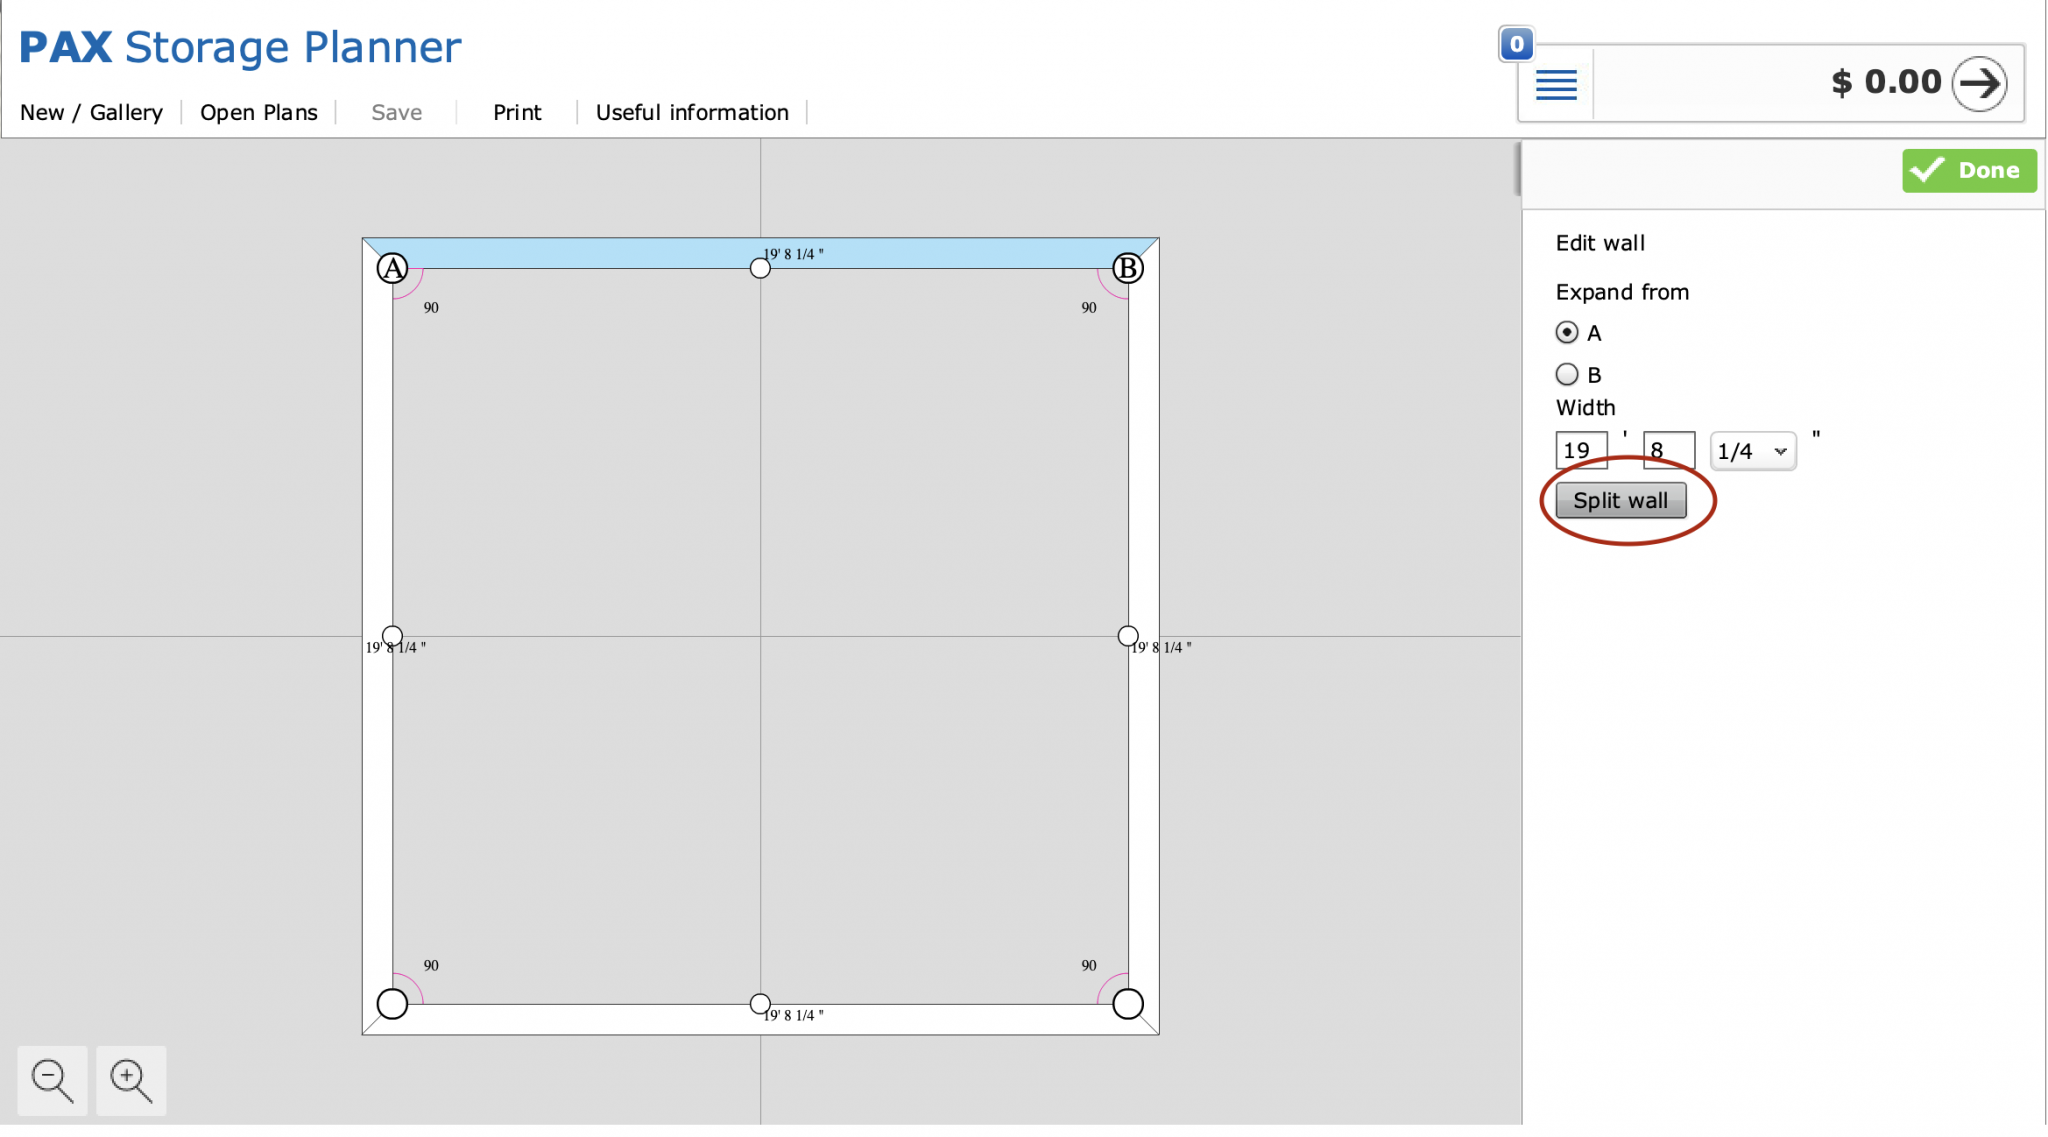
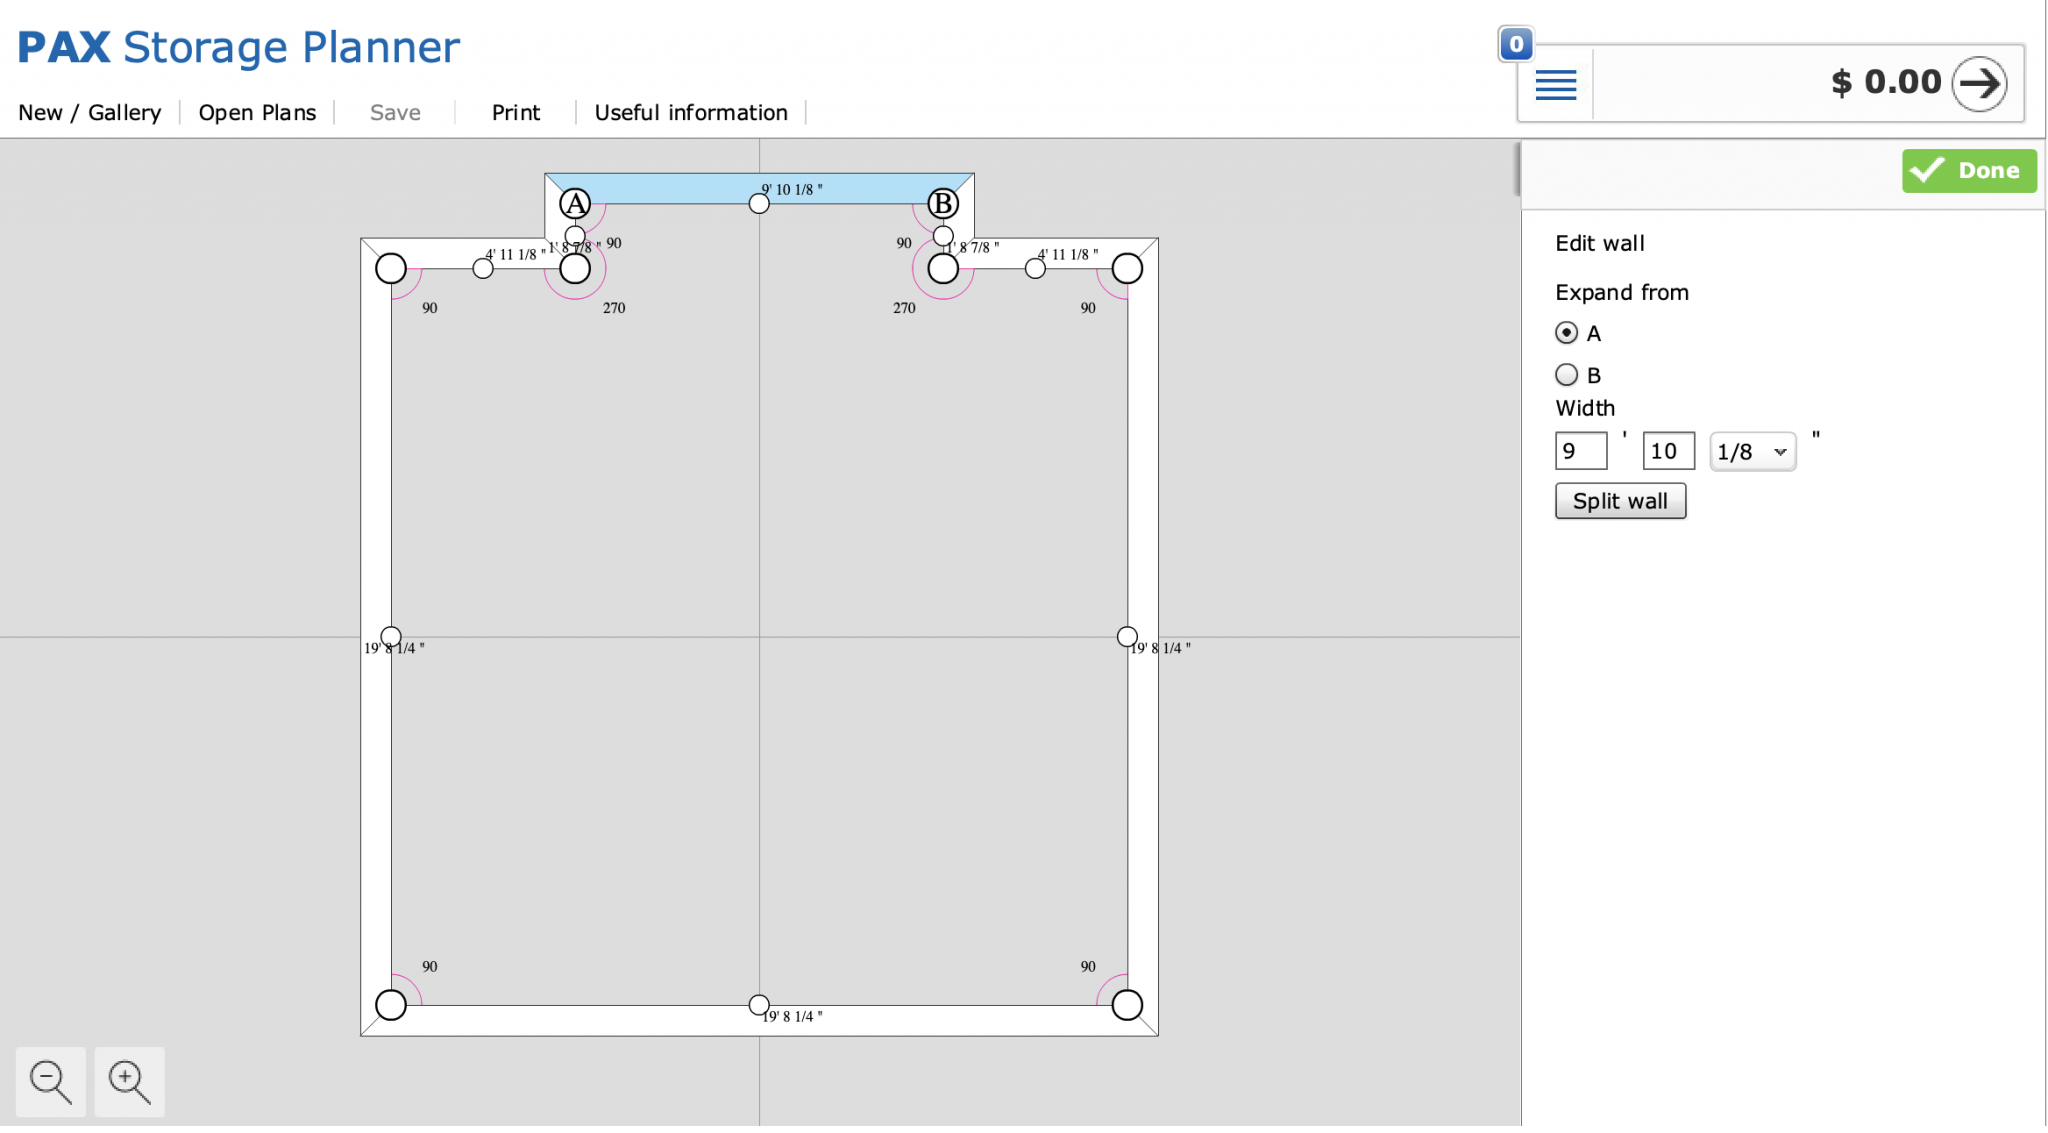
You can resize a wall by inputting measurements into the dimensions boxes on the right of the page, or by grabbing the anchor points (represented by circles in the corners of the intersecting walls) and dragging them. You can also click the "Split wall" button to break the wall into however many pieces you need, then click the anchor points and drag them into place.
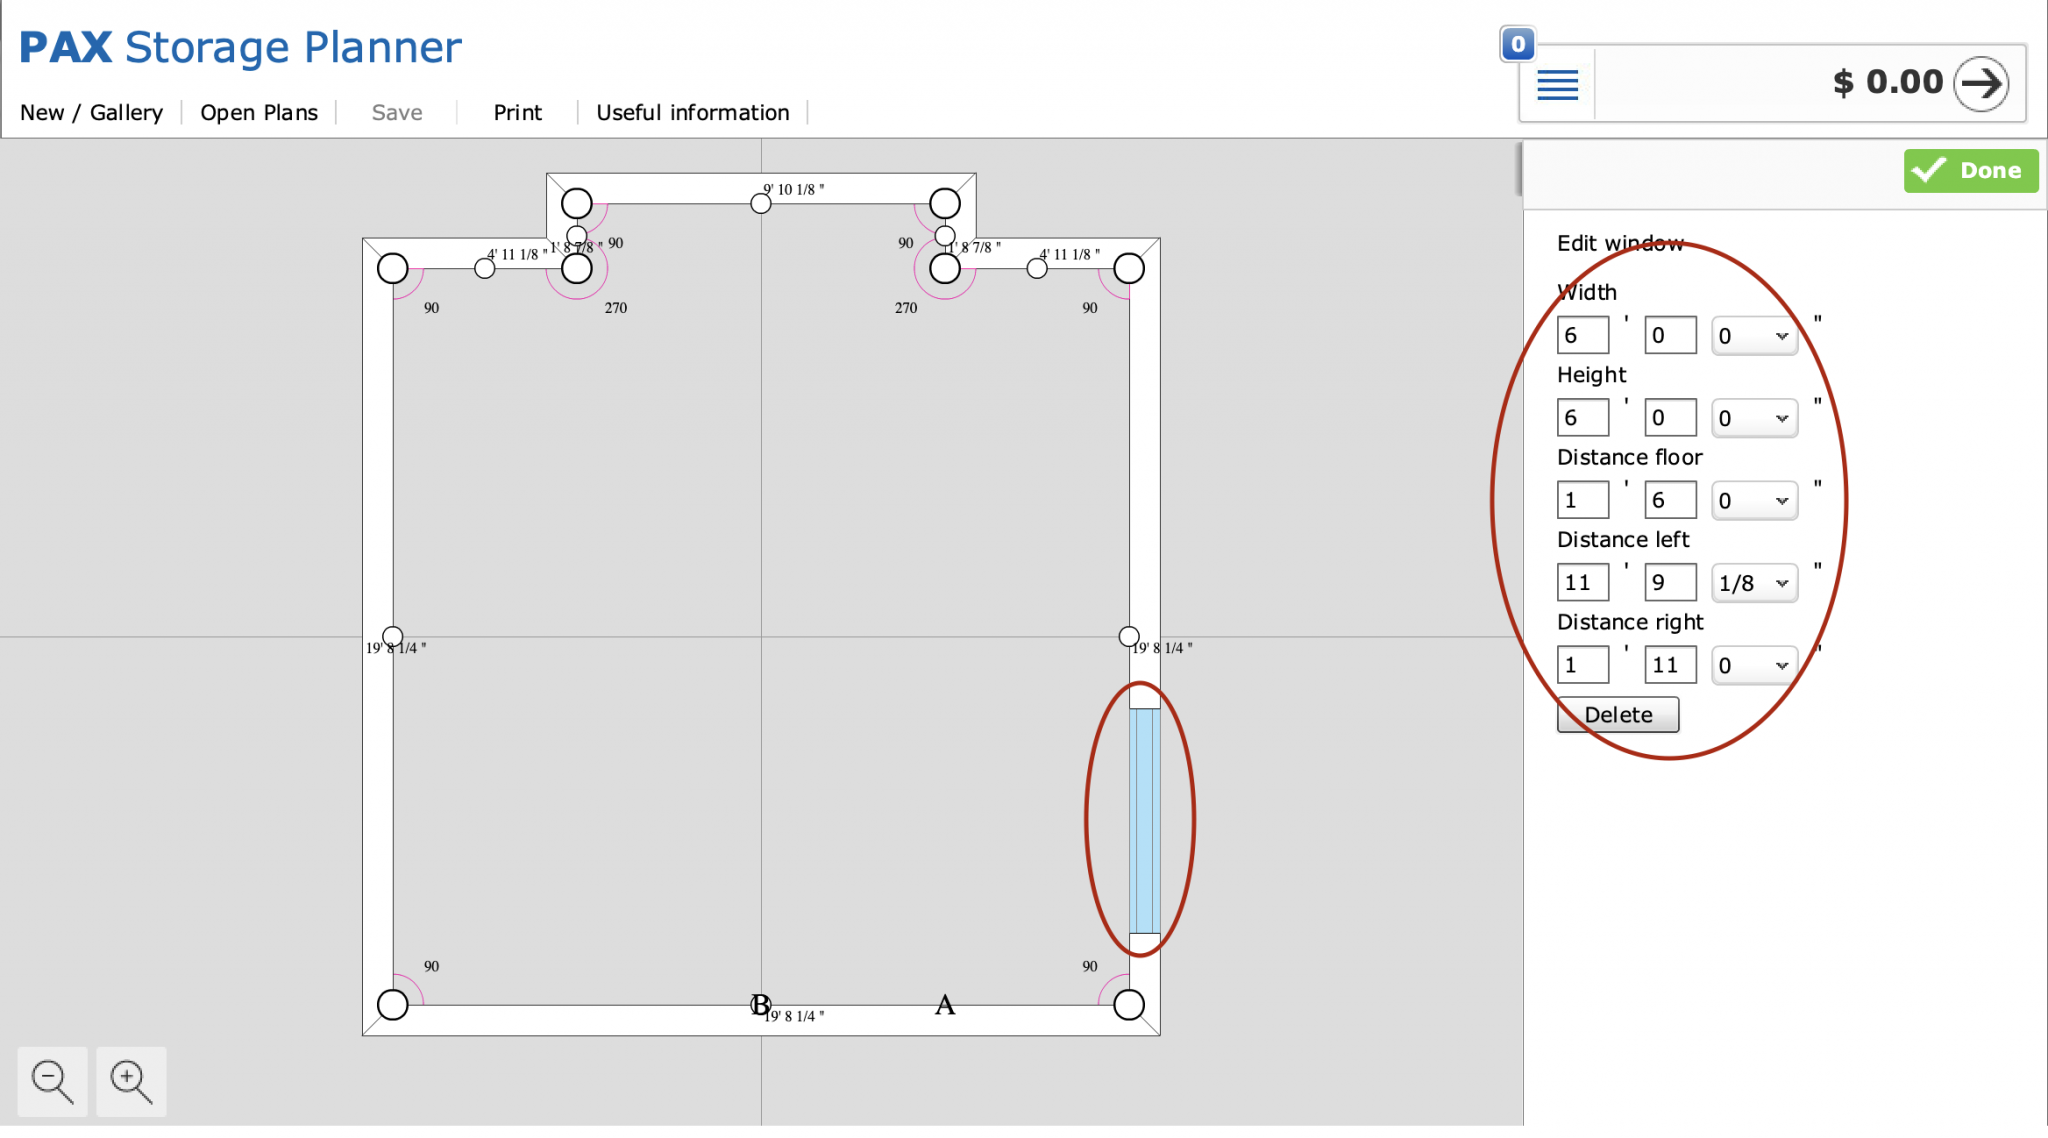
Once you have the layout of your room, you can click the green "Done" button and add any doors or windows that your space might have. Window and door dimensions are adjusted similarly to walls, by clicking and dragging and also inputting exact measurements into the dimension fields to the right.
2. Add the cabinet boxes
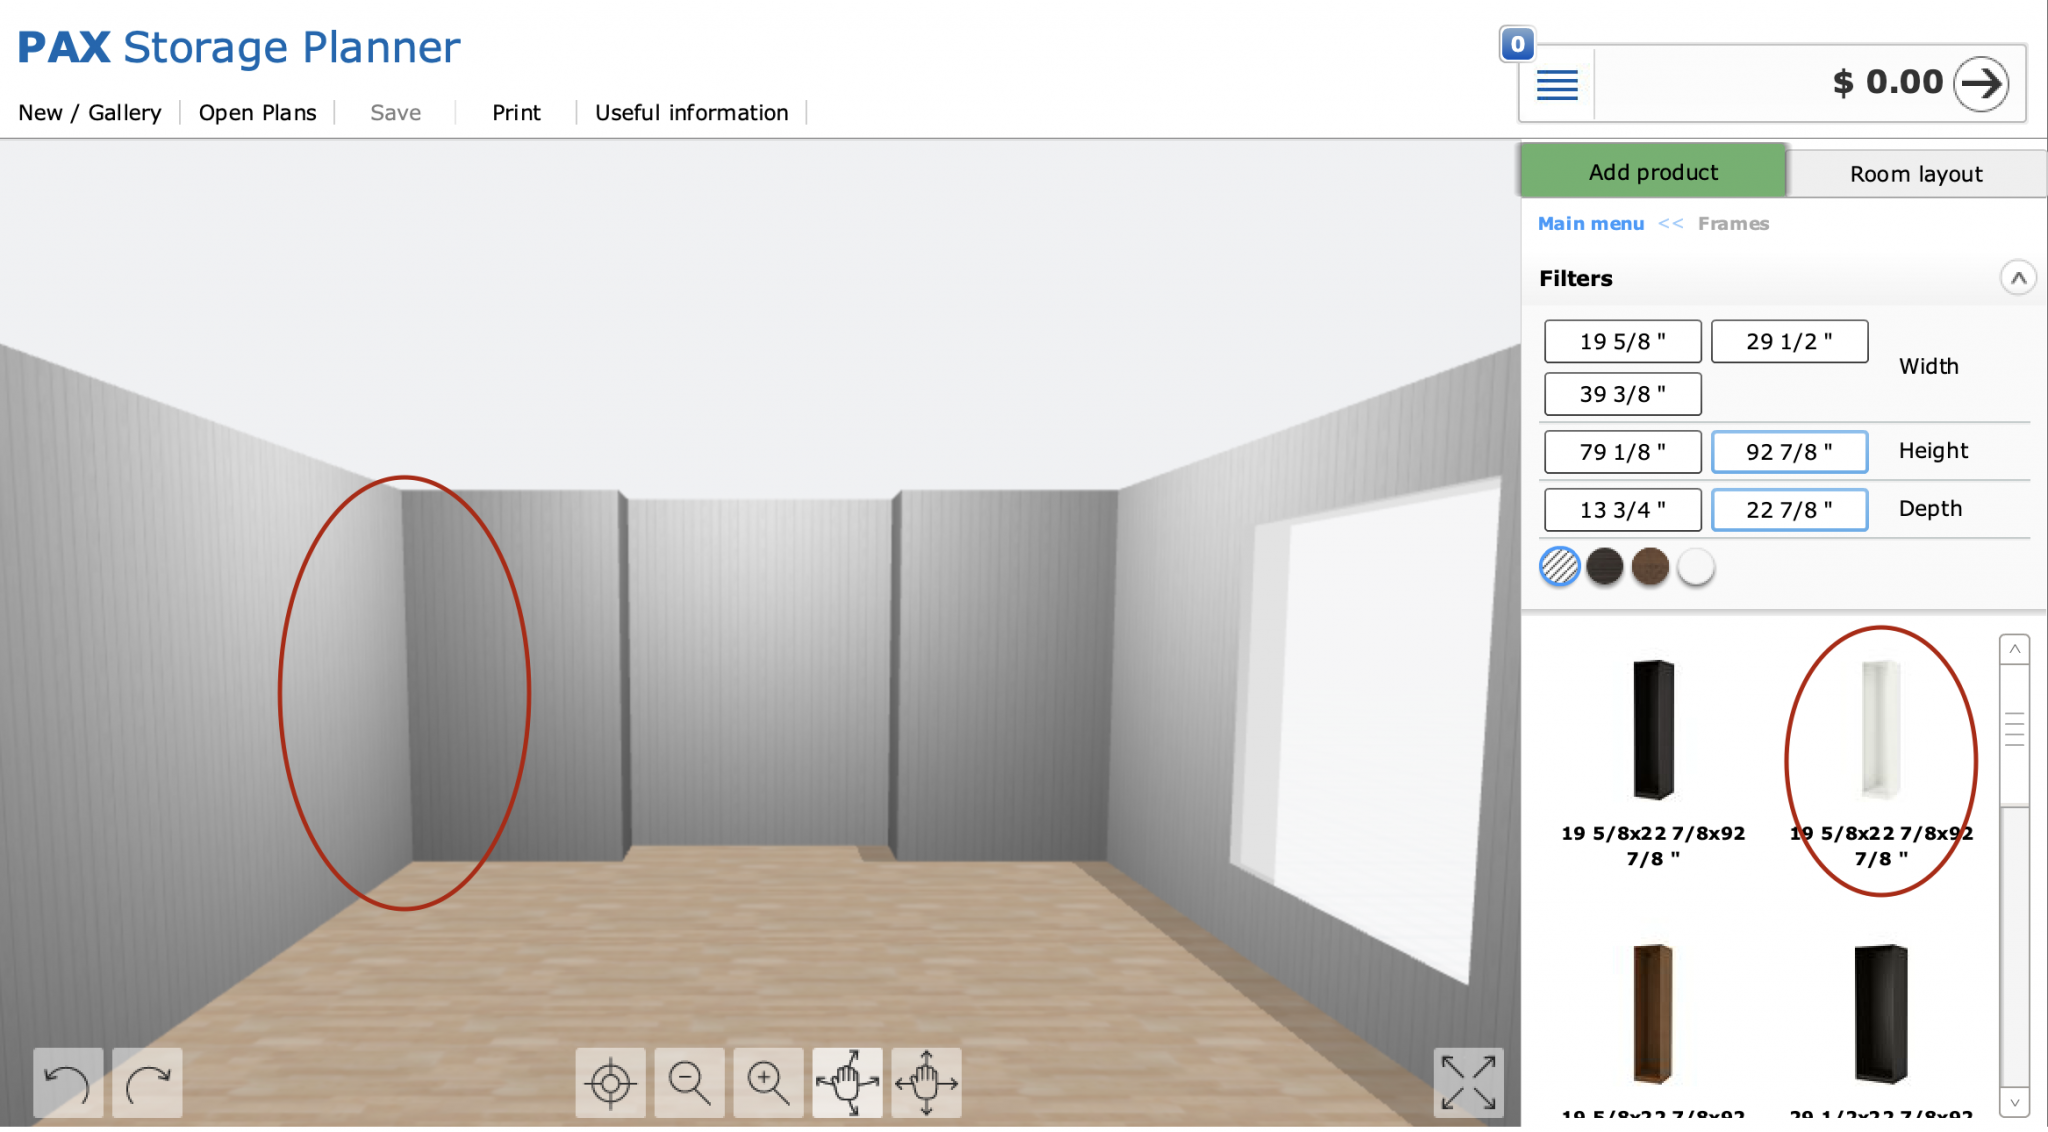
The trickiest part with an IKEA PAX wardrobe system is getting it to fit well. There are three different widths, with two heights and two depths for each. You also have three cabinet box color options – so all together there's a good amount of flexibility. Even still, make sure you plan for at least 1/2in of space between any cabinet box and wall, and 1.5in of space between a cabinet box and ceiling. You can (and should) add trim/moulding to the PAX system to close those gaps and give yourself a clean, custom, built-in look.
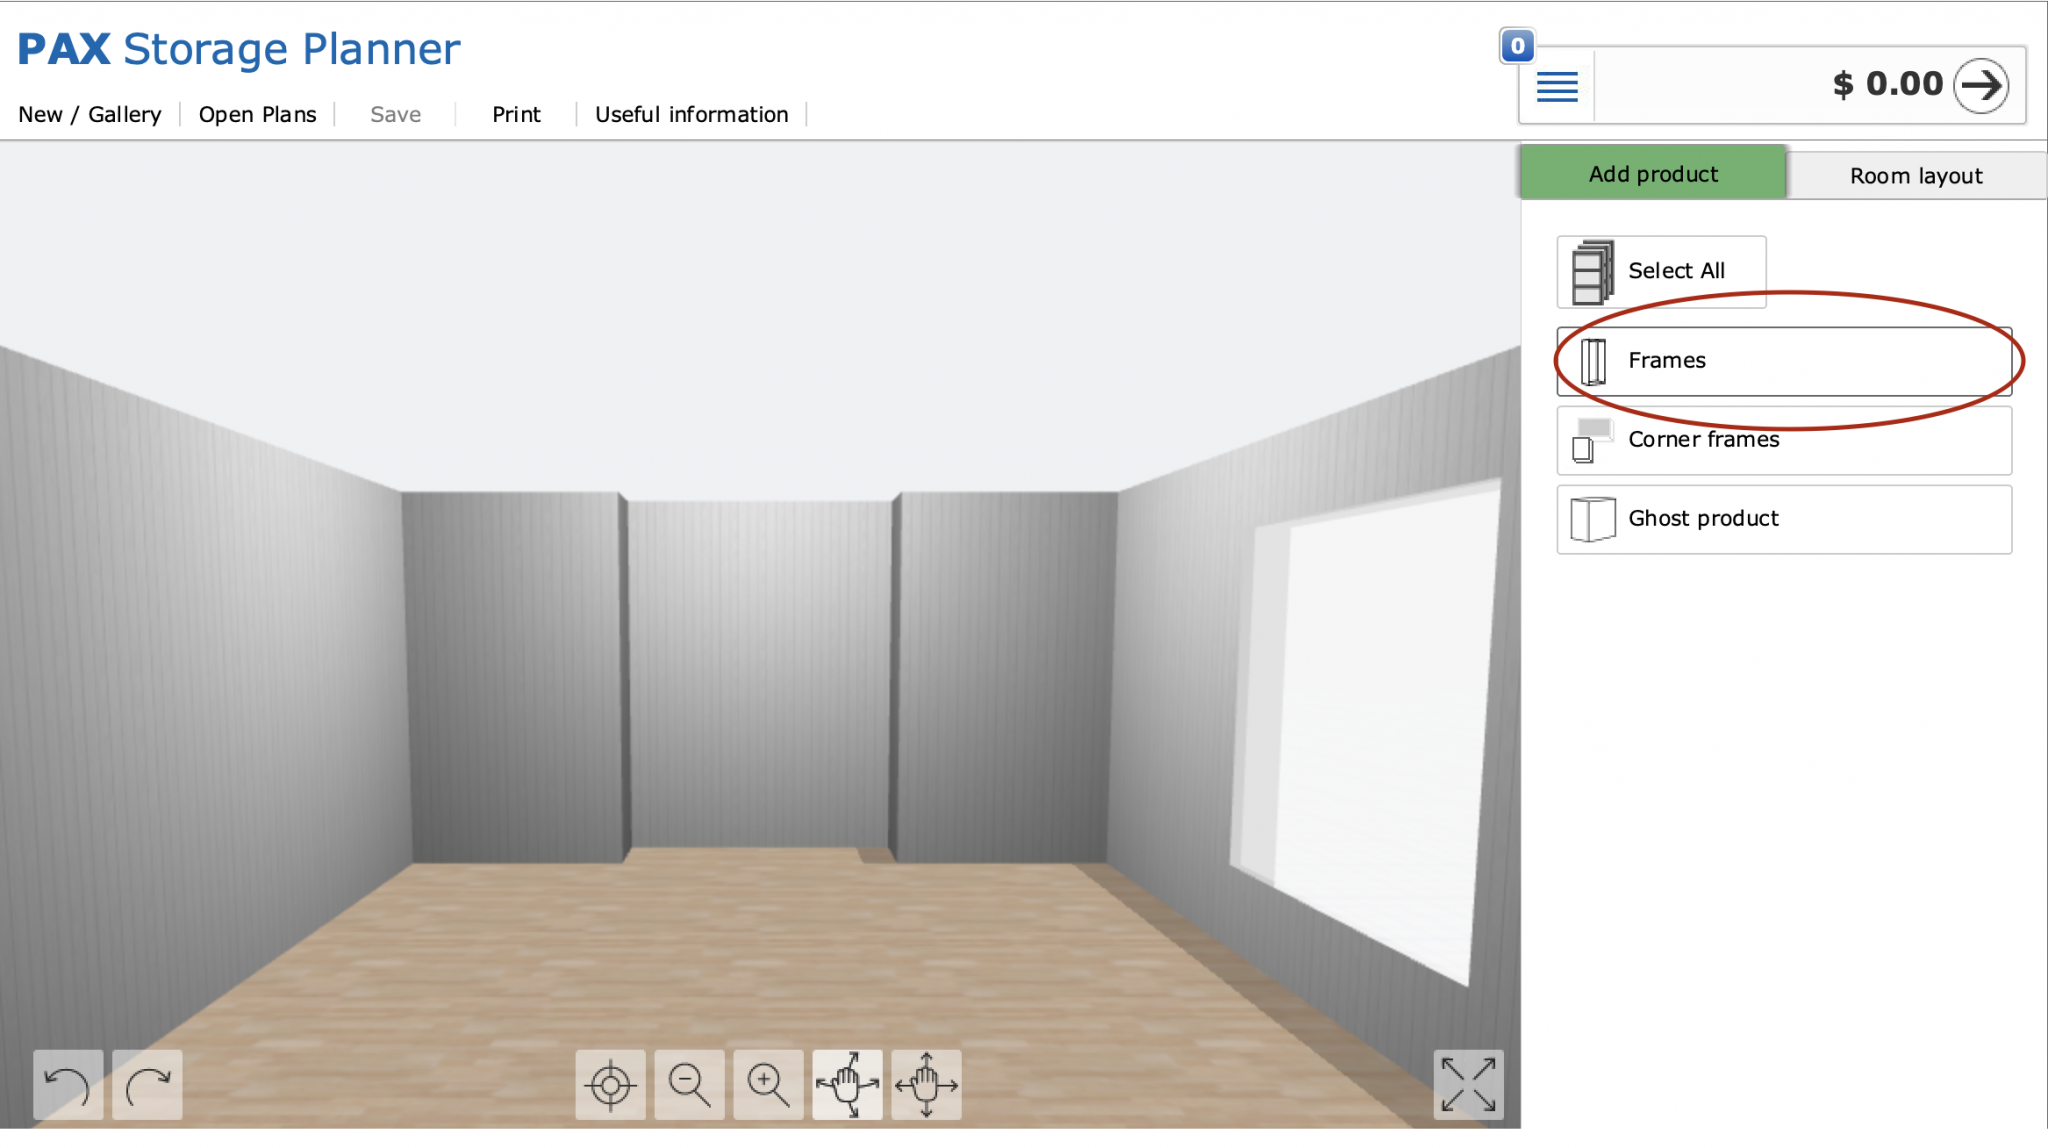
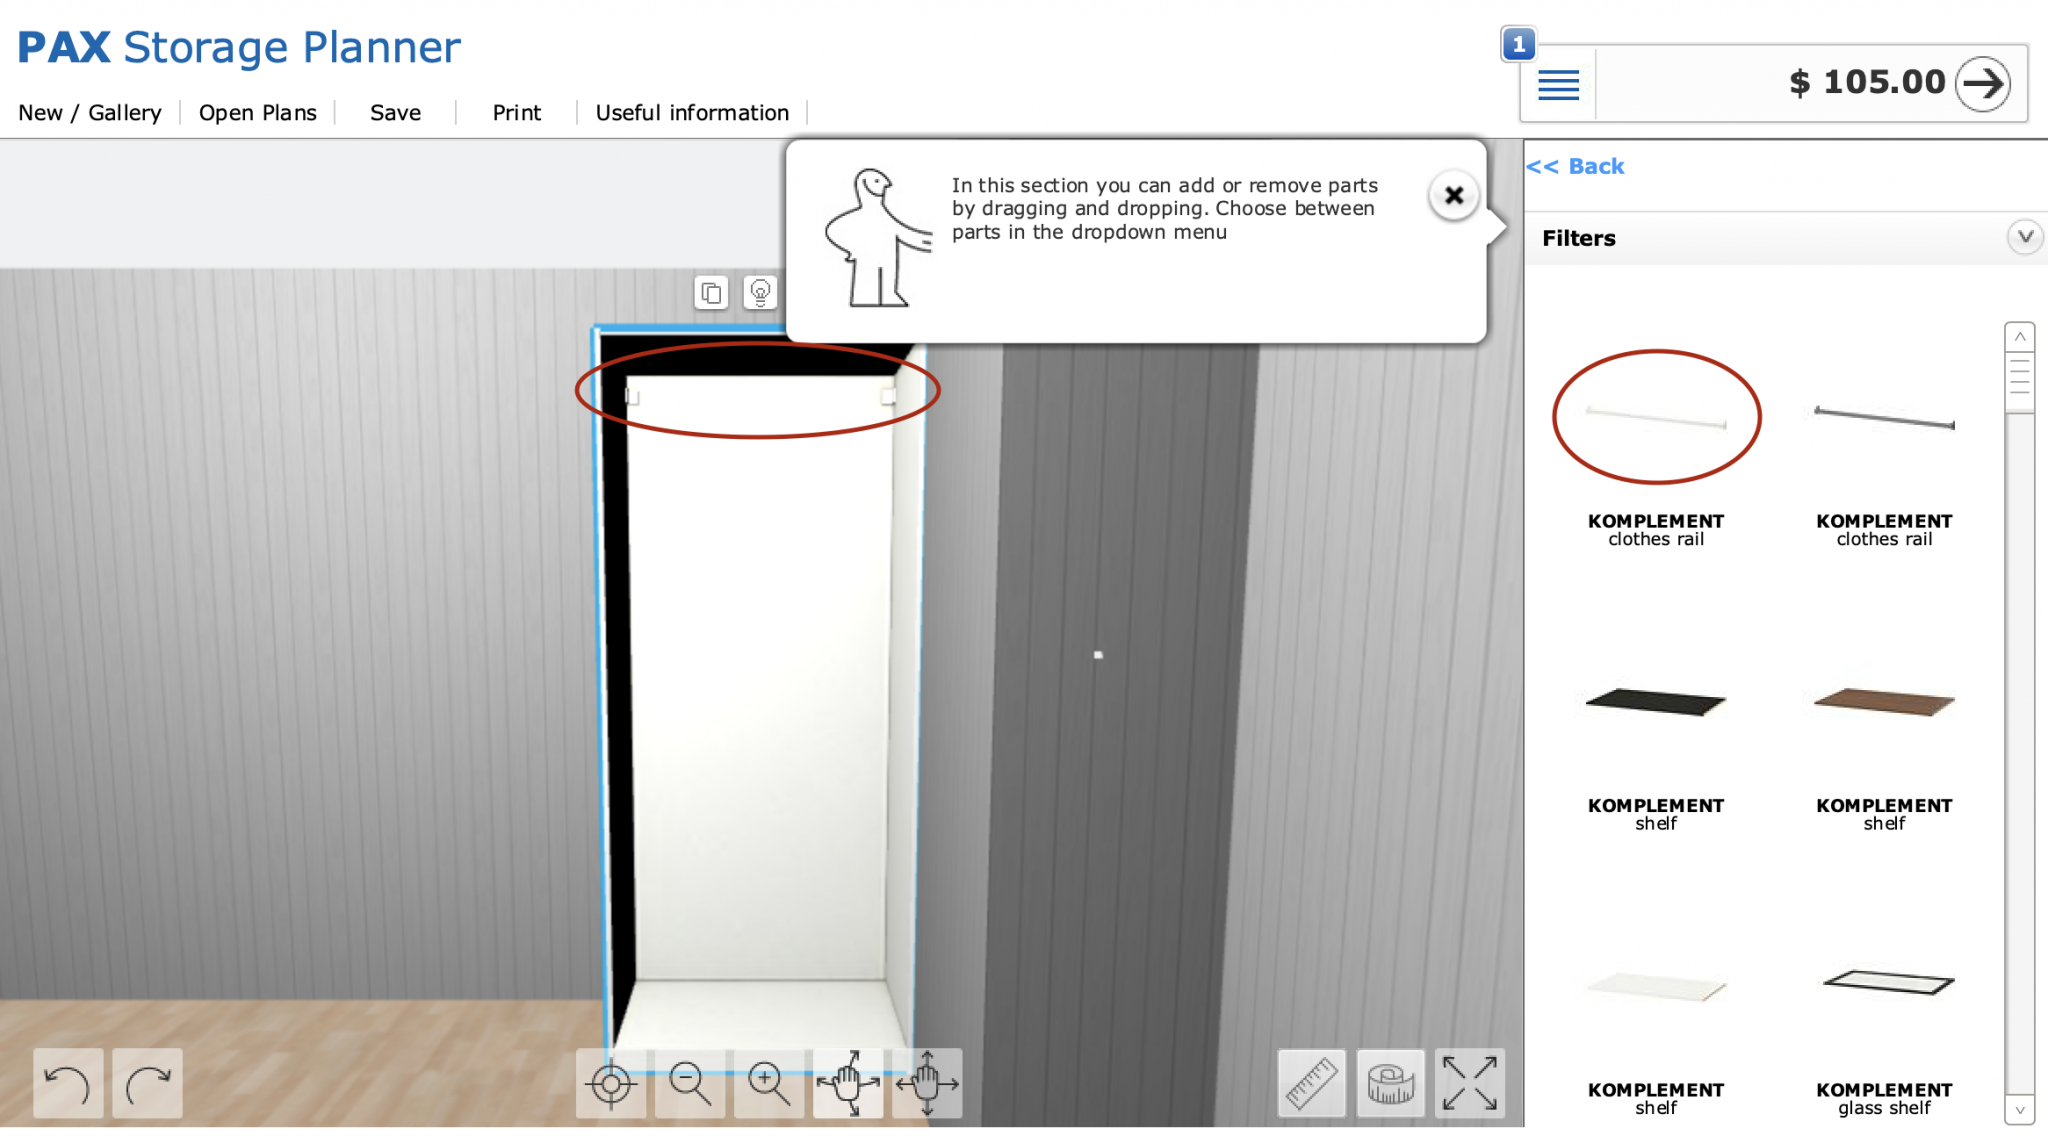
Use the filters in the Frames section to cut down on options shown, so you're only using cabinets relevant to your space. Simply click and hold on the cabinet you want in the menu on the right, and drag it into place on the mockup on the left.
Once in place, you can click the focus button to zoom in on that single cabinet box.
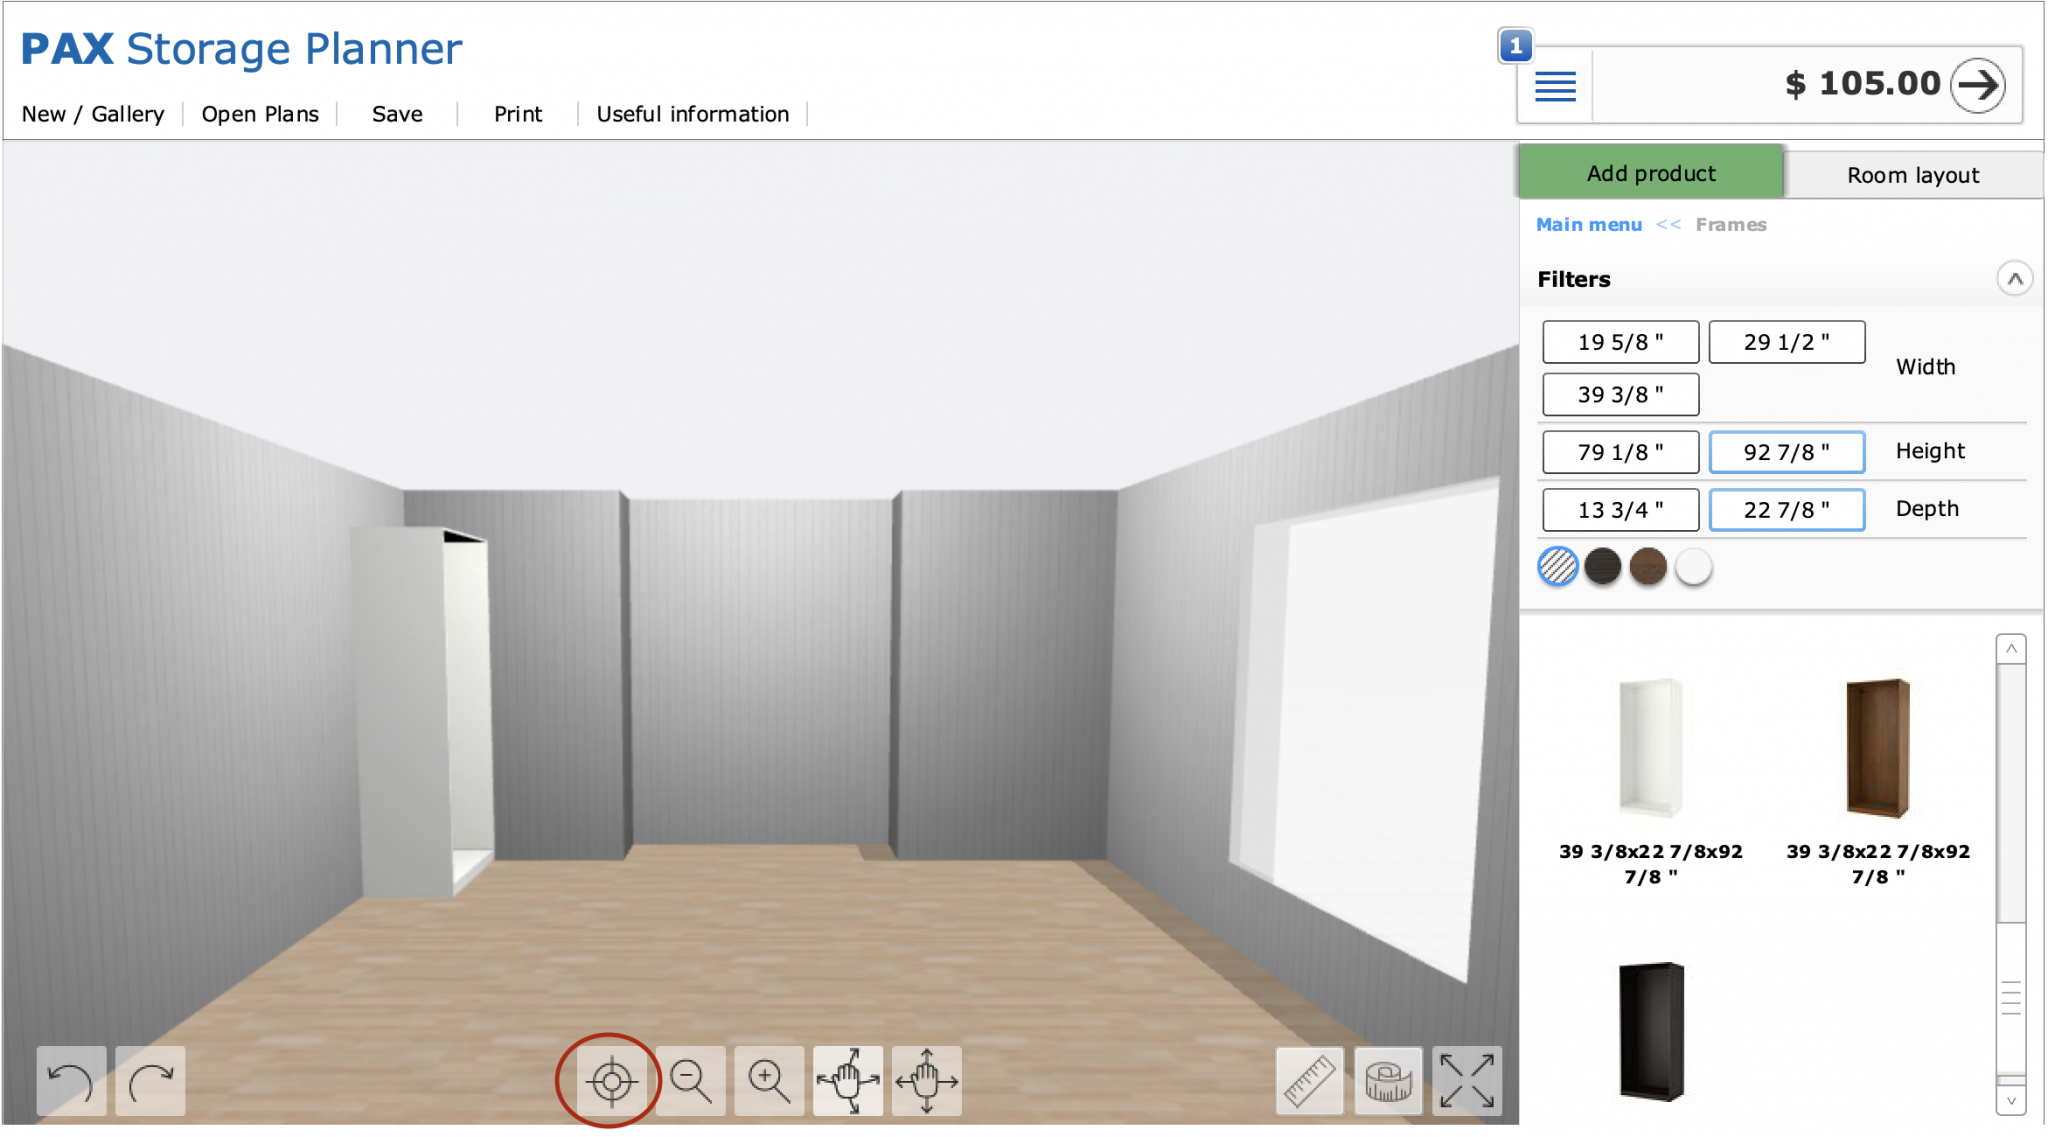
This is helpful for when you're ready to customize each cabinet with drawers and other fittings.
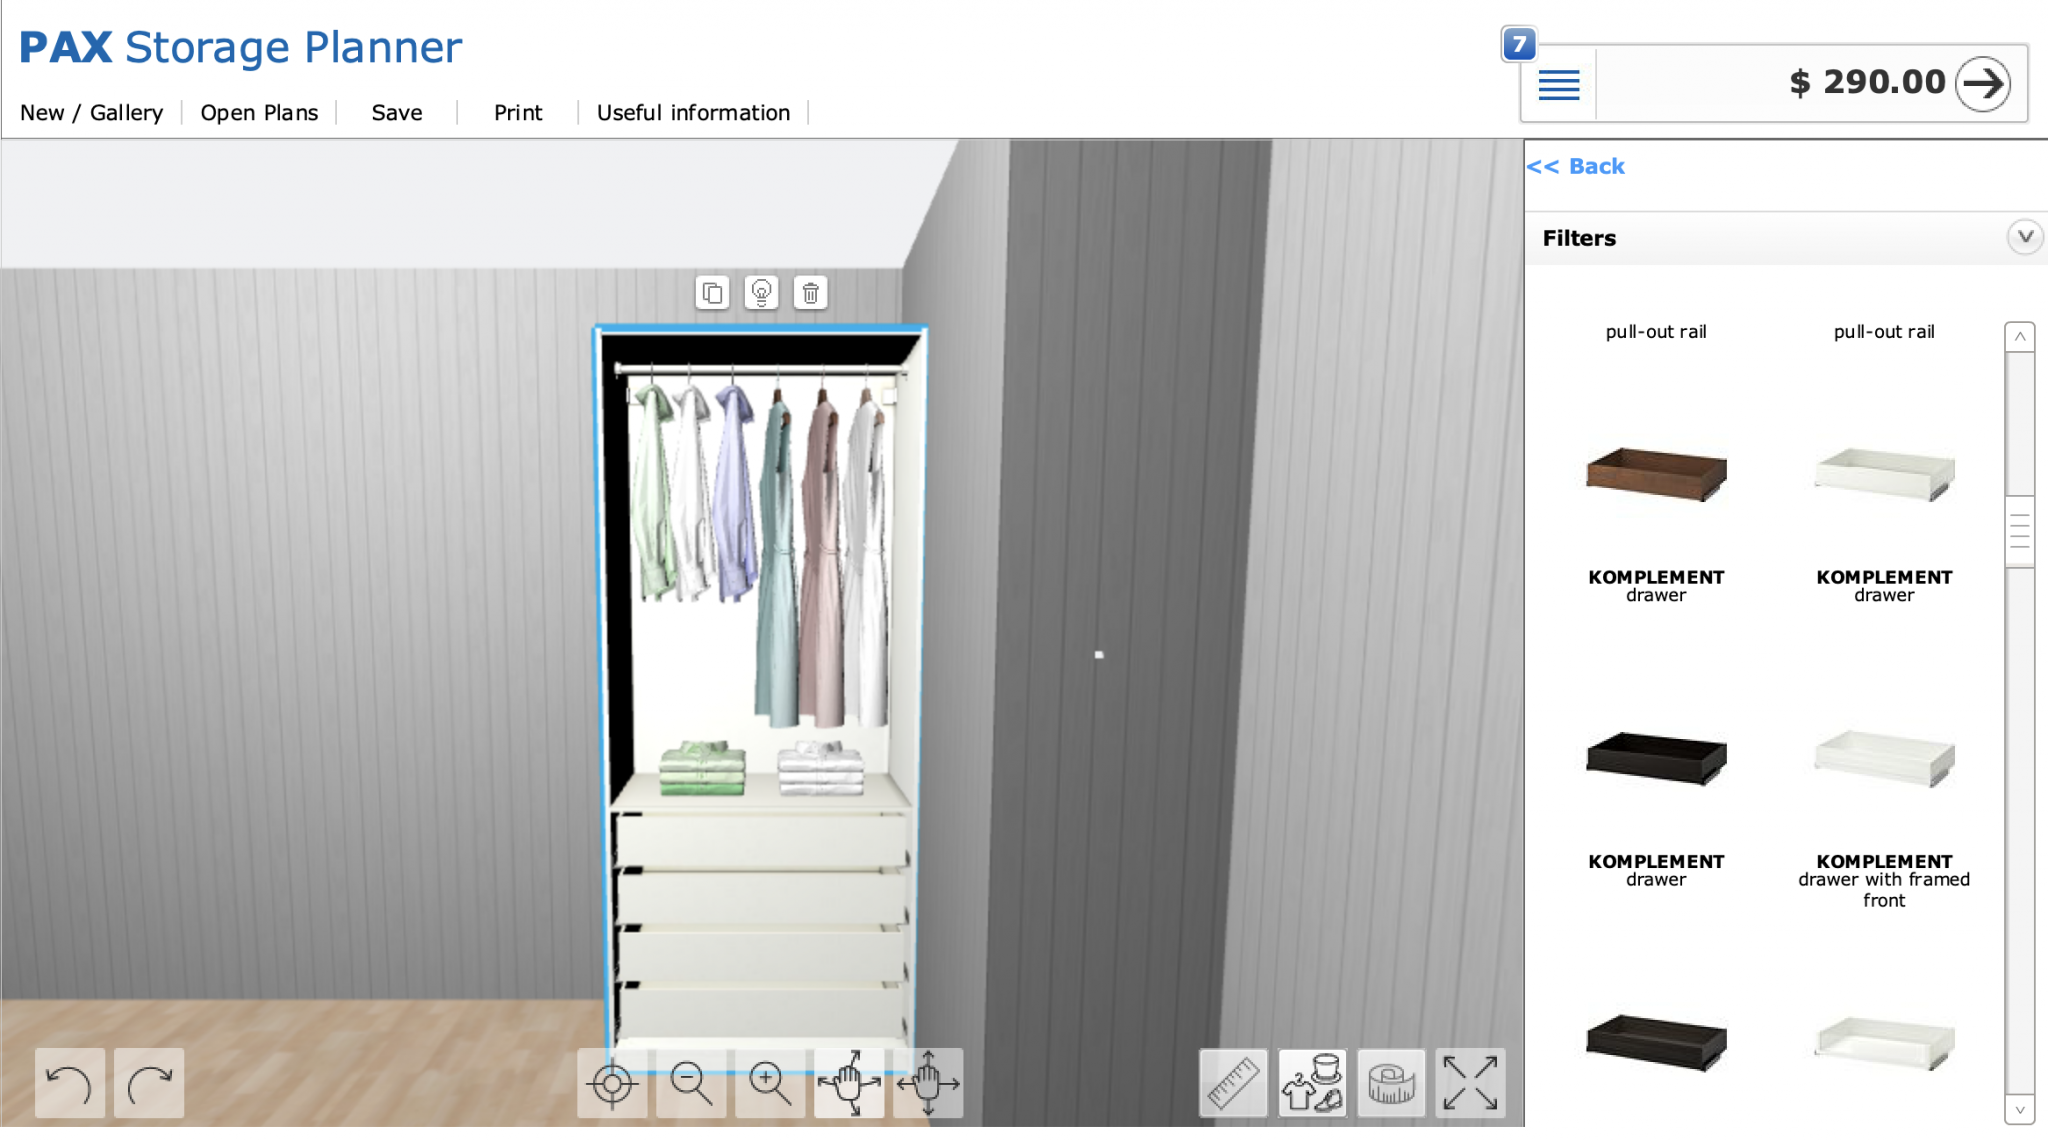
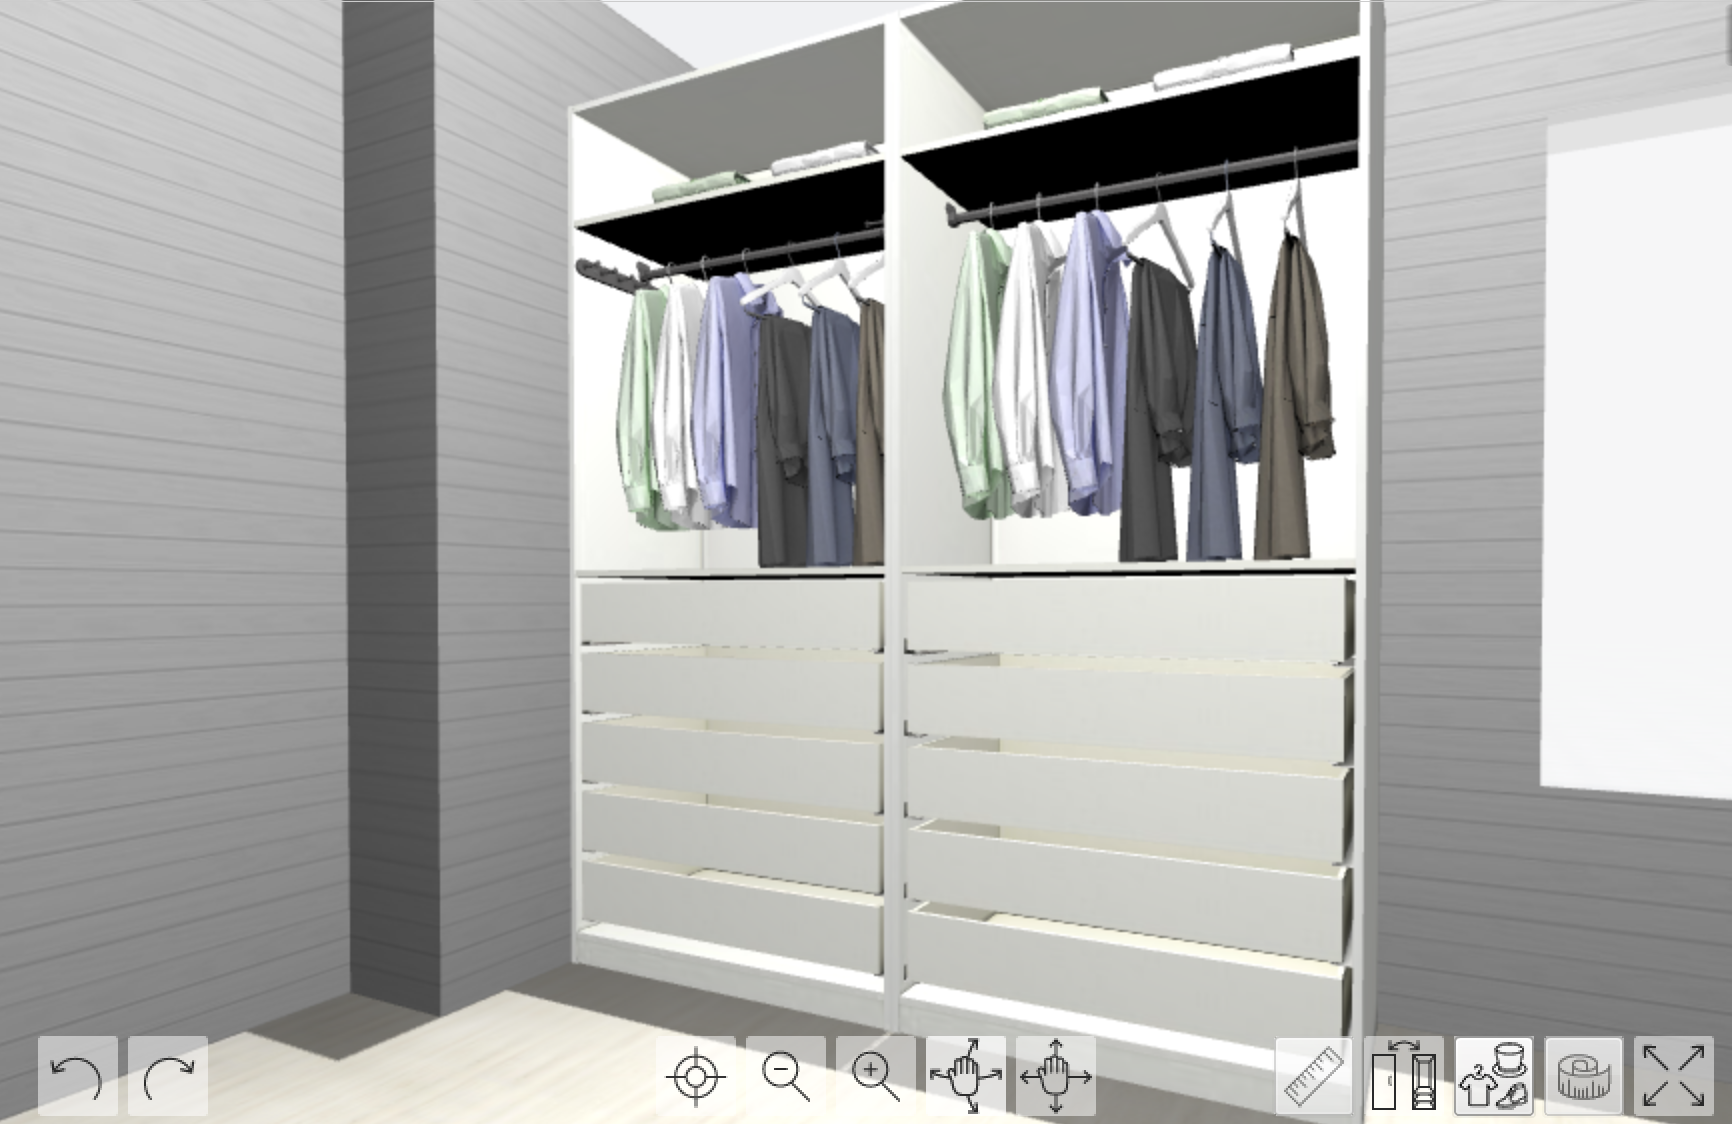
3. Customize each cabinet
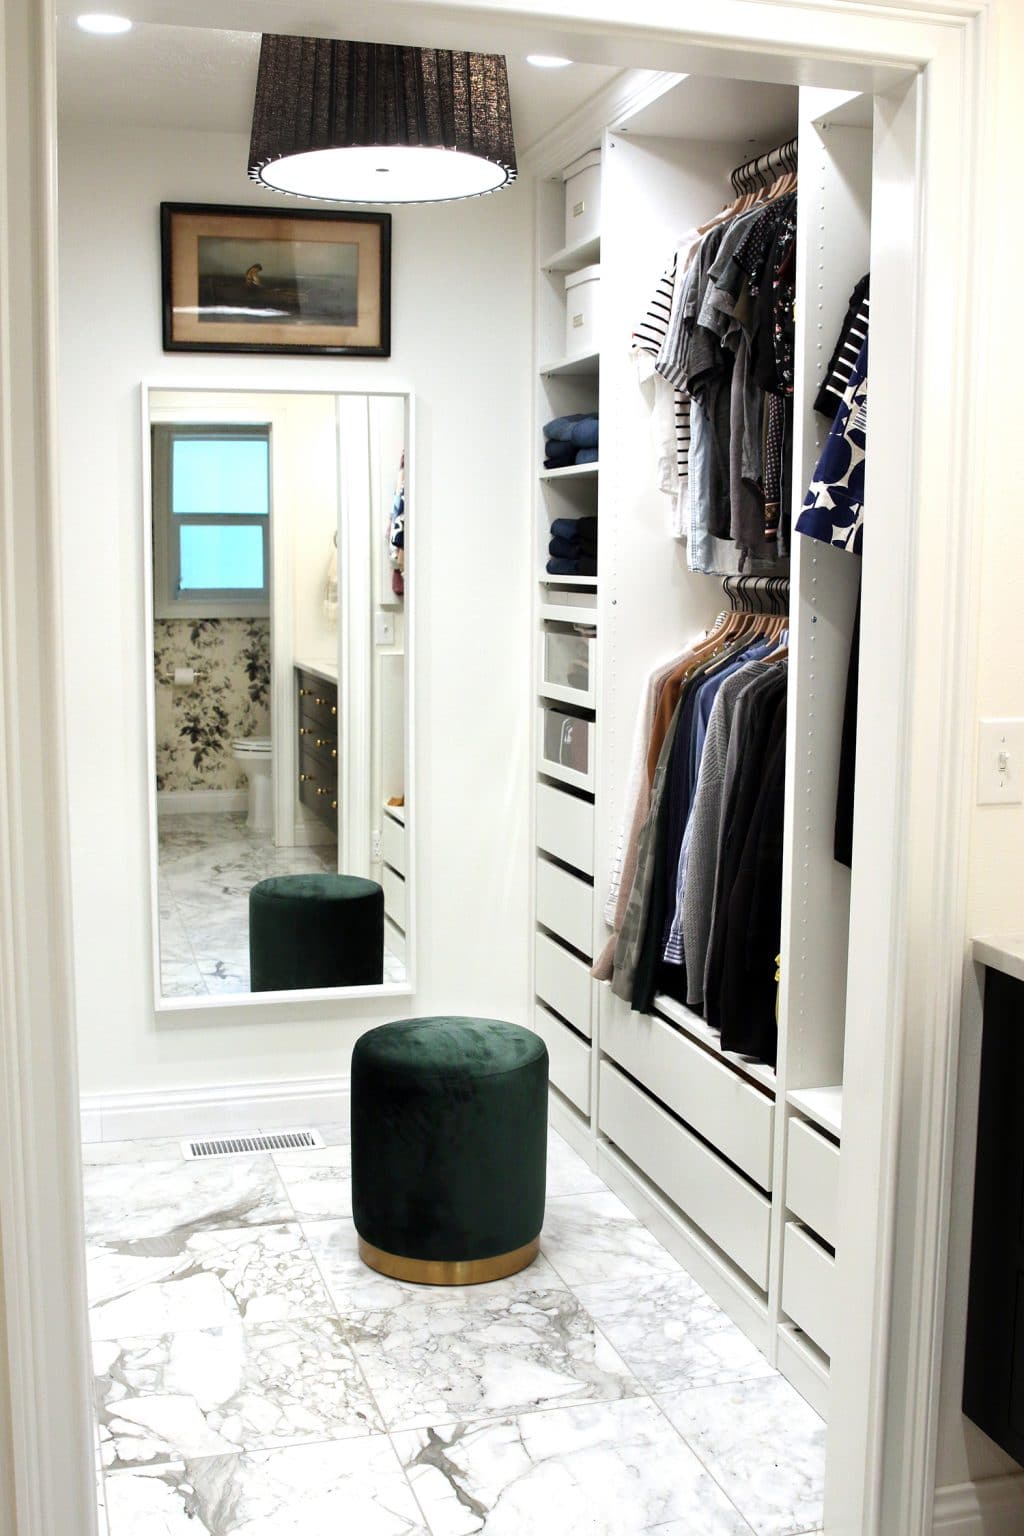
Once you have a cabinet isolated and focused on, you can begin customizing it using the menu options on the right. Everything is optional, and there are so many things you can choose from – for our closet, for example, we don't even have doors (except on one cabinet, which we'll explain in a later post). For the purposes of this post, we'll just add some interior organizers.
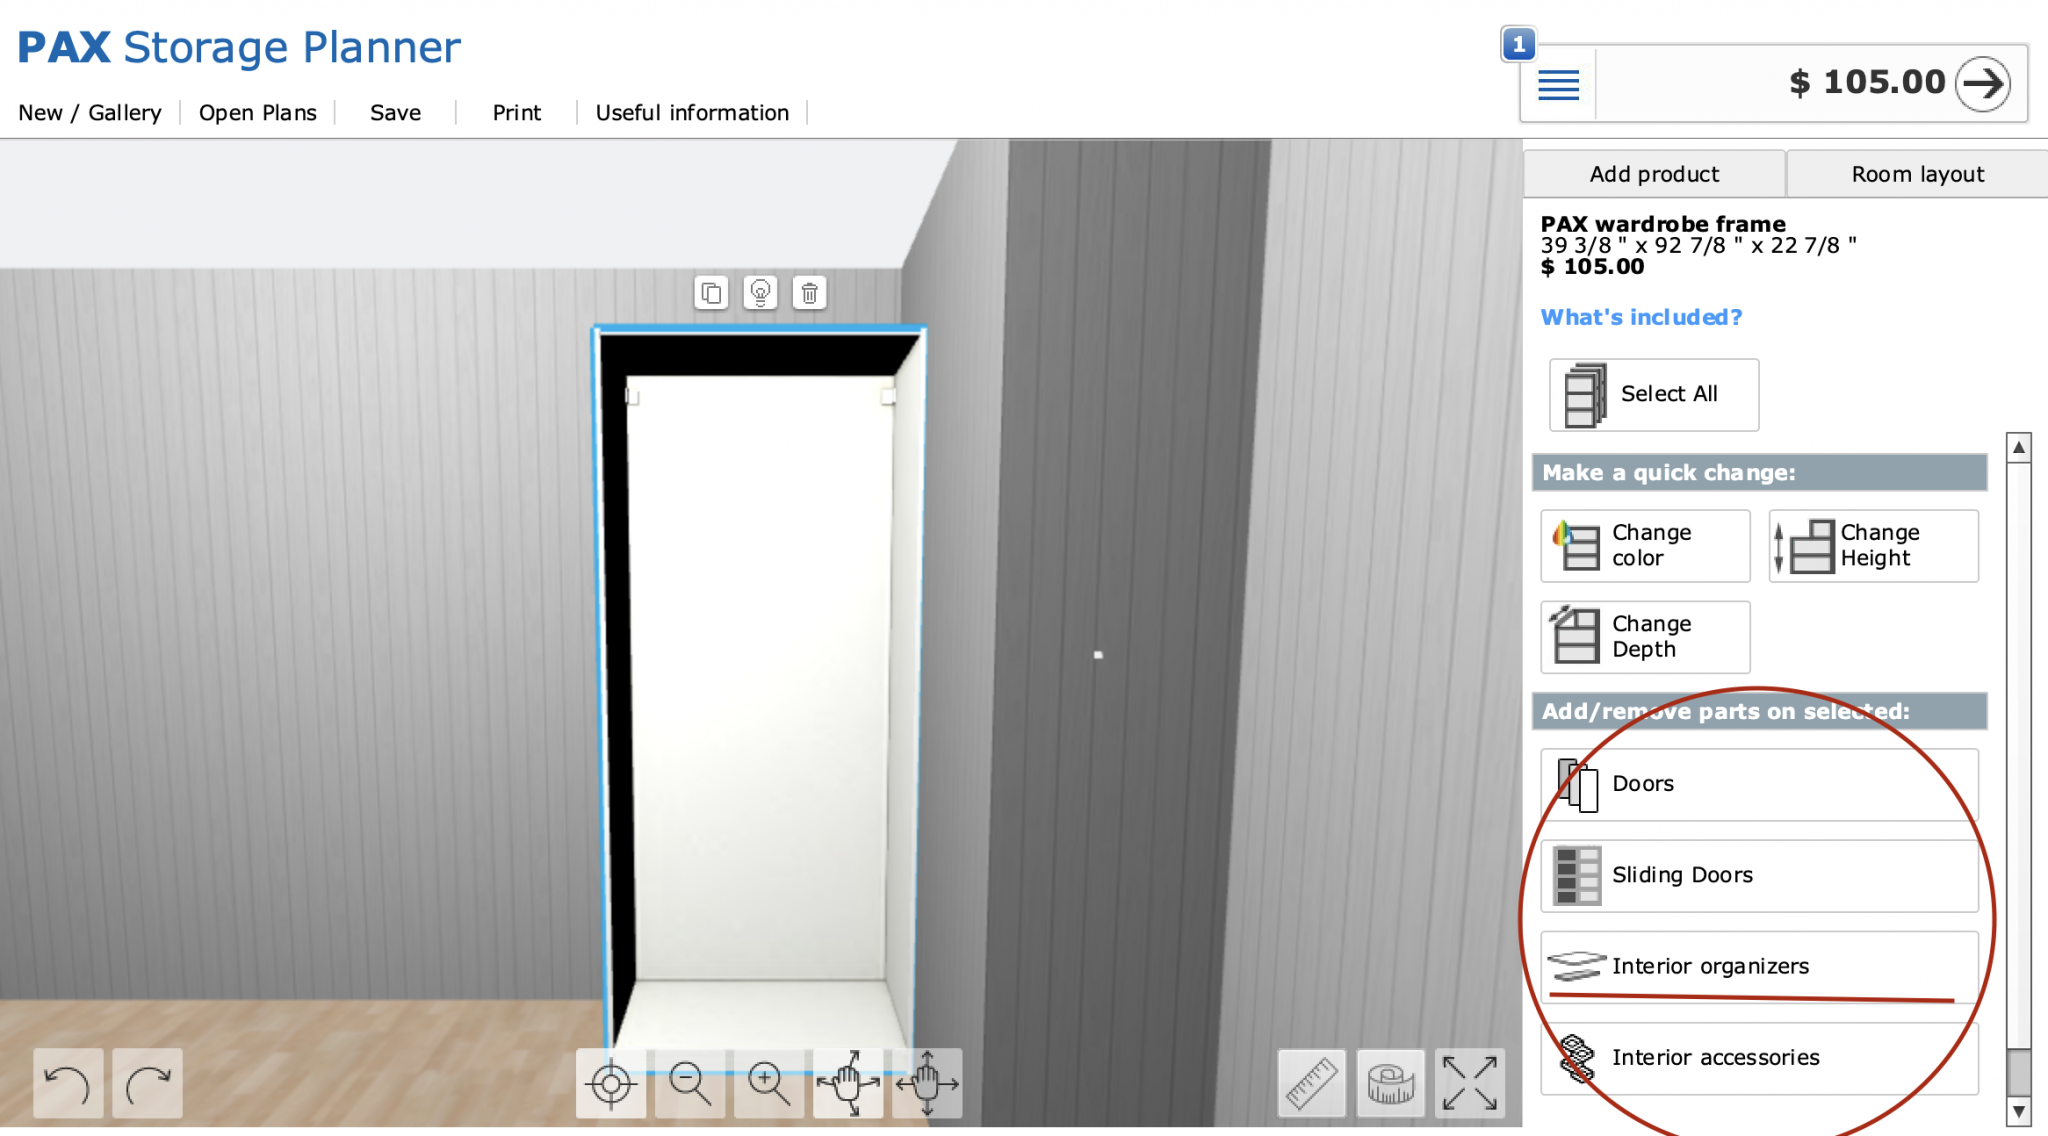
As with the other steps, you simply click and drag the organizer you want to where you would like it placed in the cabinet. As you do, you'll see measurements appear that will help you space things out properly.
There are a lot of options you can choose from, but one tip we'll give is, if you're going to have drawers on bottom, make sure you add a shelf above the top drawer to help enclose it. It's a simple thing, but really helps with the "custom" feel.
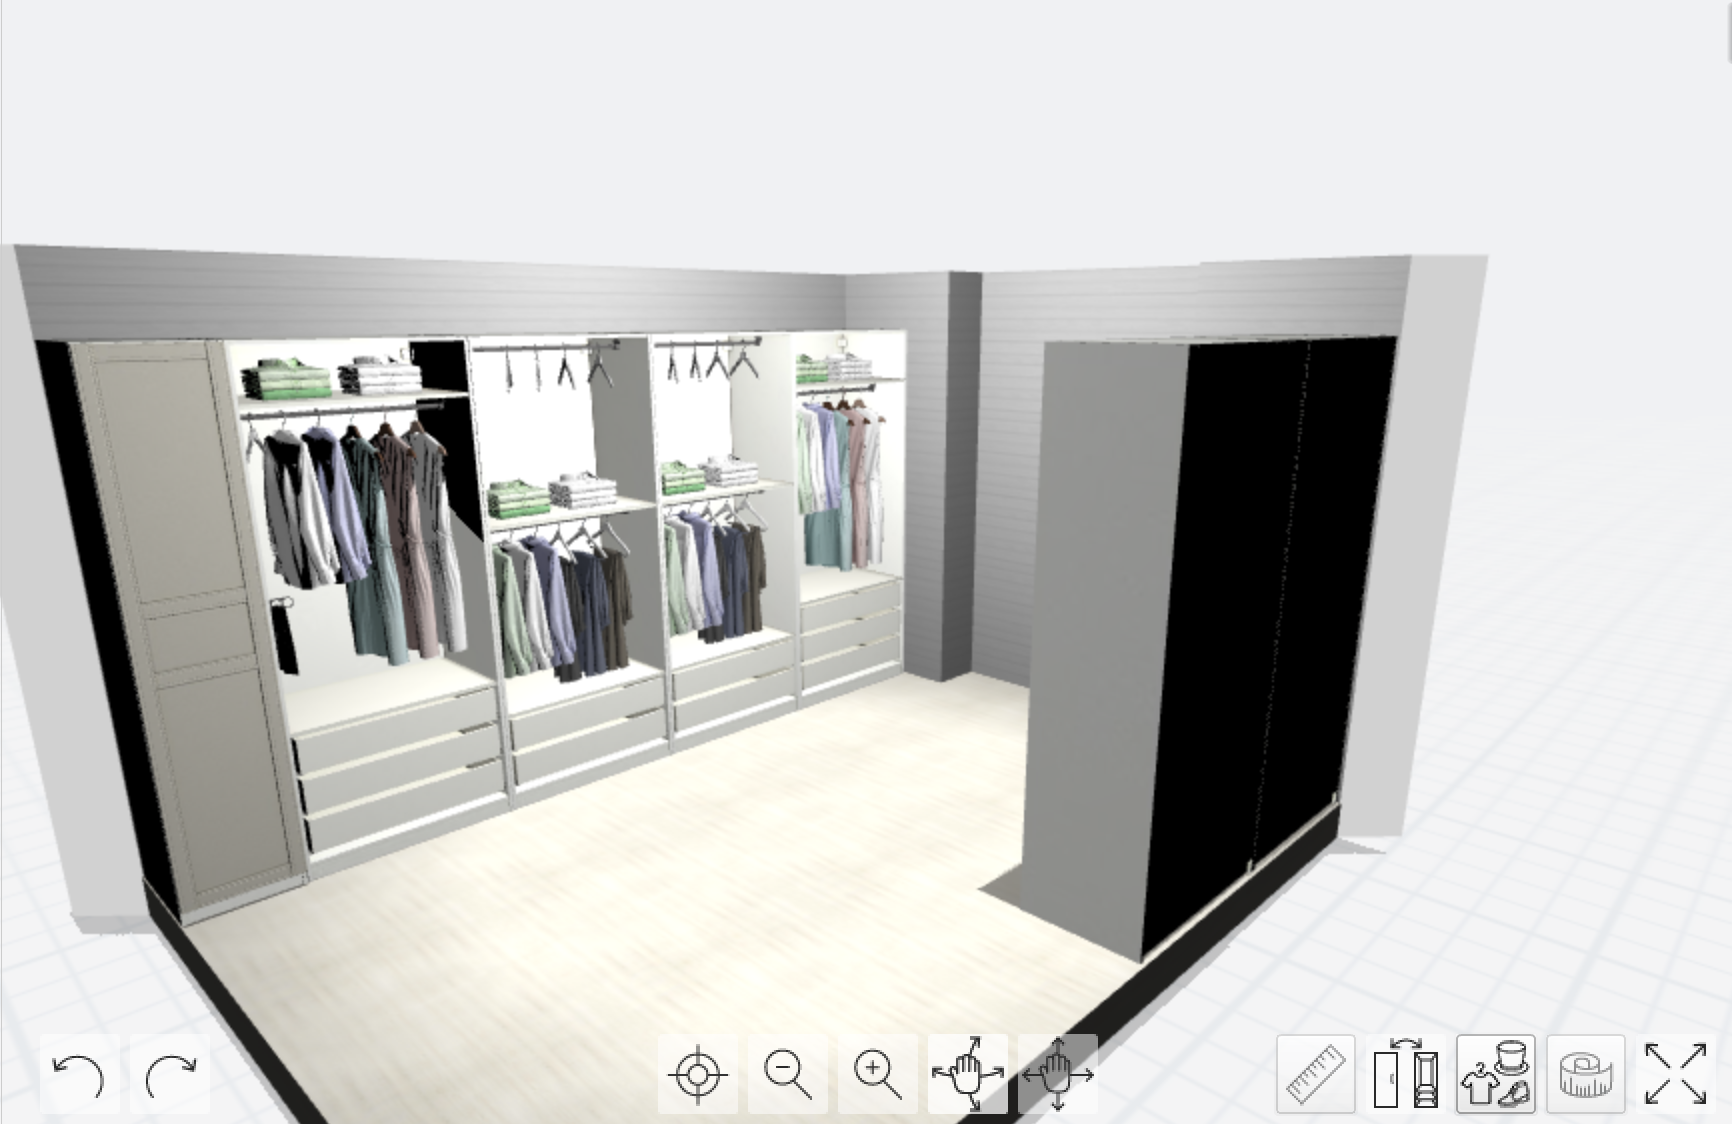
And that's really all there is to it! It's a really well-designed tool – any issues you run into are likely due to the Flash platform, as opposed to the design of the program. We followed all of these steps for our closet. Here's our layout:
It's similar to the example layout above, just smaller. But still so much space for a closet. Here's how the rendering came out after we finished our plan:
And of course, best of all is the price. This entire closet system cost less right around $2000 after sales tax. We'll spend another $500 or so on lumber, moulding, trim, and paint to make it really look built-in, but $2500 is a far cry from the $15K+ we were being quoted on a custom-built closet solution. And by the time we're done with it, you won't even know the difference. Seriously, we can't wait to show you.

But I will say, we got a jump start on cabinets, and here's where we stand as of this morning:
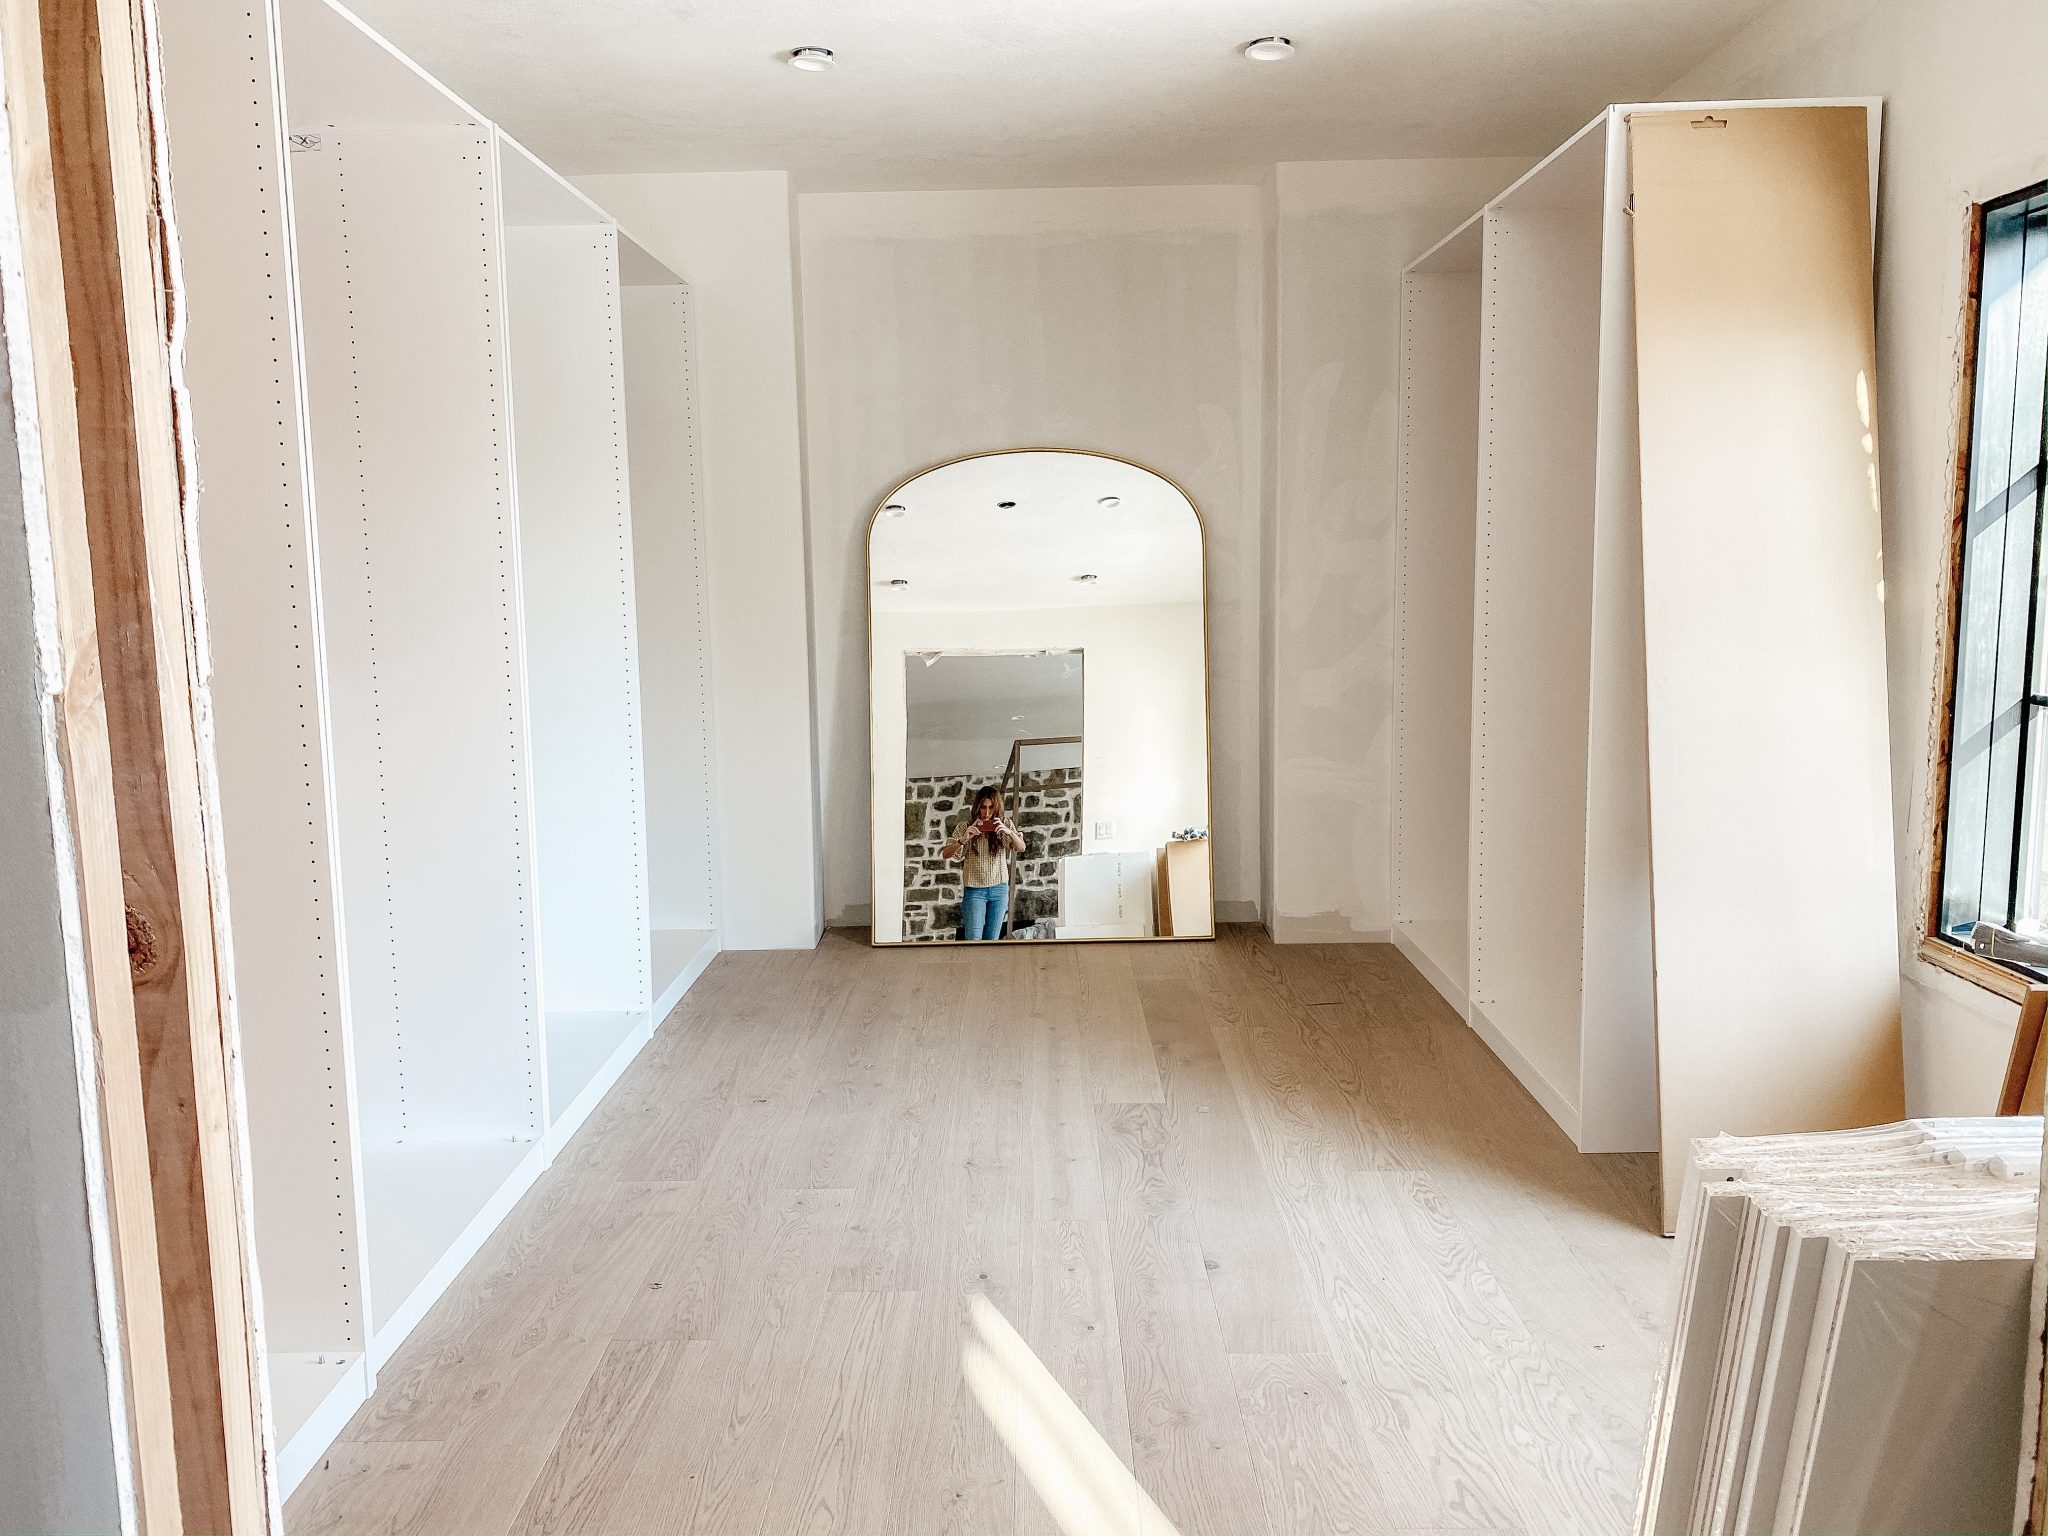
There are a few things that the renderings don't show. The inset portion in the back will be shoe shelves and there will be a pivoting mirror (we're hoping to find a custom place to do that) a couple feet out from the shoes so you can still reach behind the mirror. We decided to include a desk/vanity area in the closet in front of the window, too. We were originally going to do more cabinetry, but really wanted a sit down vanity or quiet place to work and look out the window.
Here's a look at the direction we're headed.

1 | 2 | 3 | 4 | 5 | 6 | 7 | 8 | 9 | 10
A beautiful chandelier for the center (I think we'll add some wall sconces on either side of the shoe wall, too) that will hang over a tufted leather ottoman. We felt like it would honestly feel cramped in here with an island, so we're going for an ottoman for now and I'm excited! We'll be painting the walls, cabinetry and trim all the same color–Farrow & Ball Lamp Room Gray. It's the color of the trim in our bedroom so it will be nice to carry that through in a big way in this space. You can see a vintage desk, the chair that will go with it and a vintage rug I picked up for the space.
The mirror is the biggest thing up in the air right now. Of course we'll use our arched mirror elsewhere in the house (I can think of about 100 places), but we'll trying to find someone that can make the mirror in my head. I've had a lot of recommendations to call our local glass or metal working shop so I'll start there.
This week, we're working on building up the closet and building it in! And we'll be sure to share exactly how we did it next week!
See our closet inspiration photos here, and a current closet video tour here!
Ikea Wardrobe Design Tool Uk
Source: https://www.chrislovesjulia.com/how-to-use-the-ikea-pax-wardrobe-planner-our-master-closet-mood-board/
Posted by: hayesaltylets.blogspot.com
0 Response to "Ikea Wardrobe Design Tool Uk"
Post a Comment